How to Edit Photos of Your Artwork in Lightroom Mobile
Hey there! Anna here!
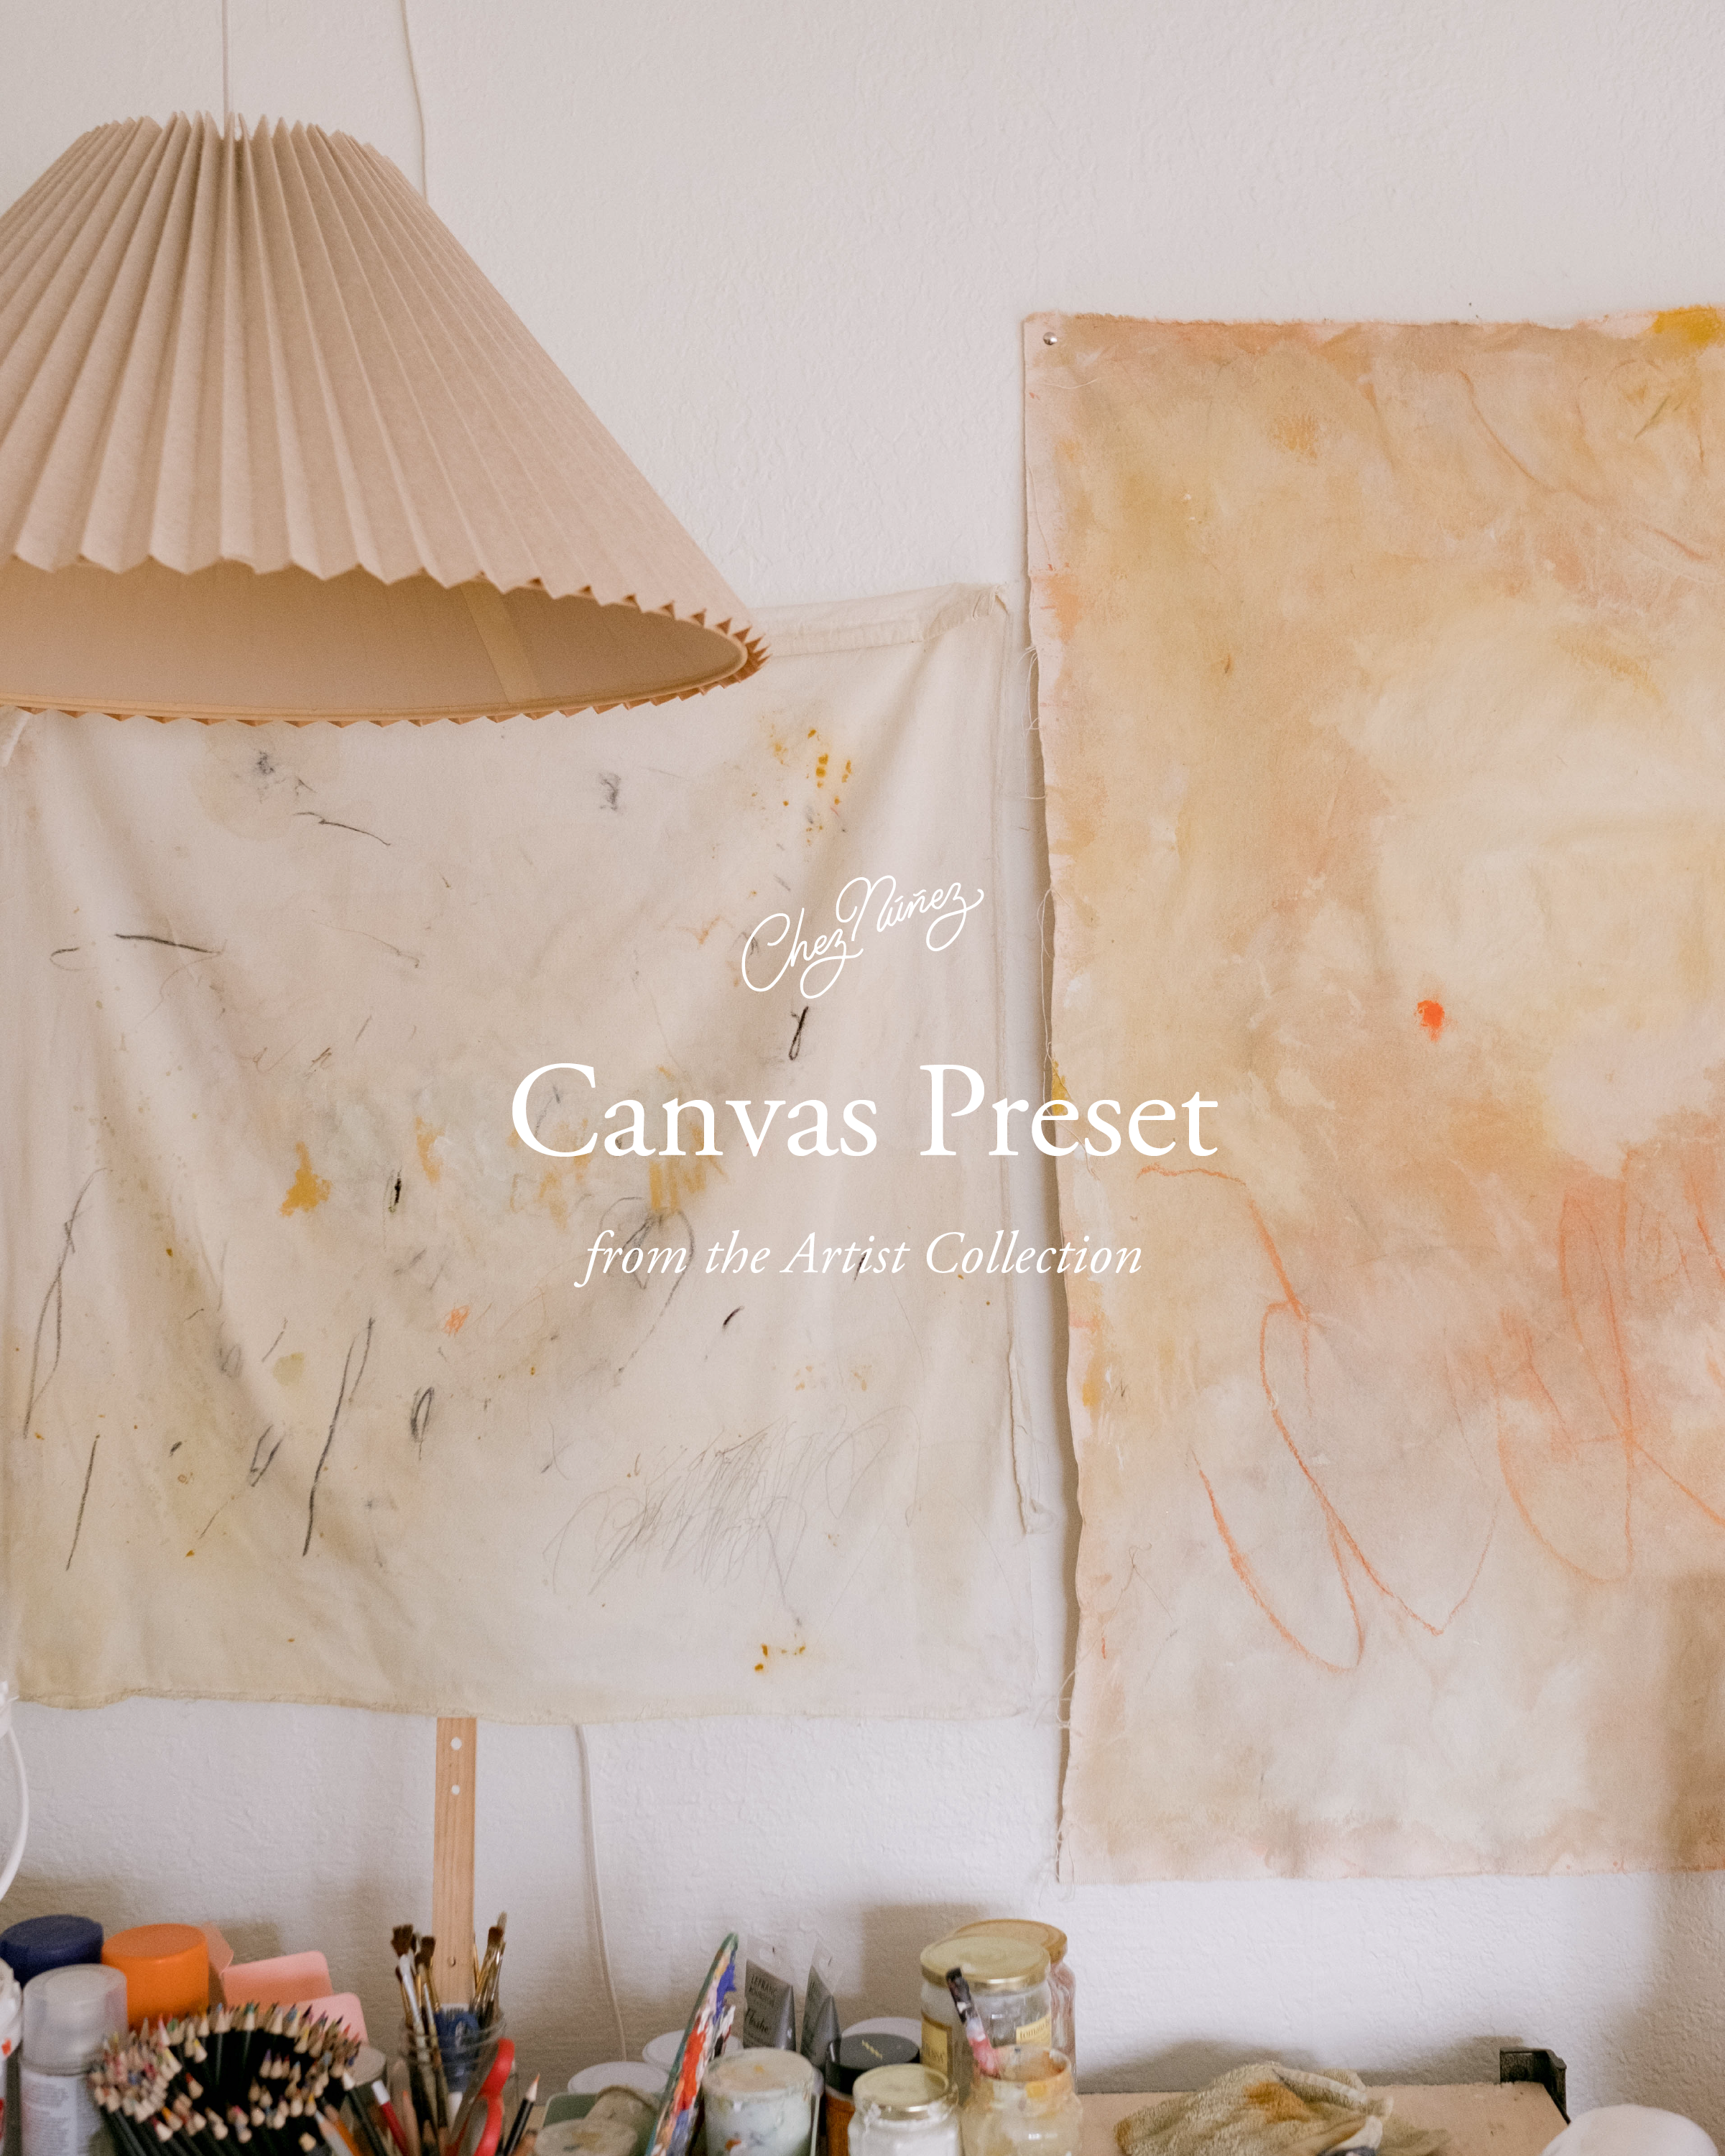
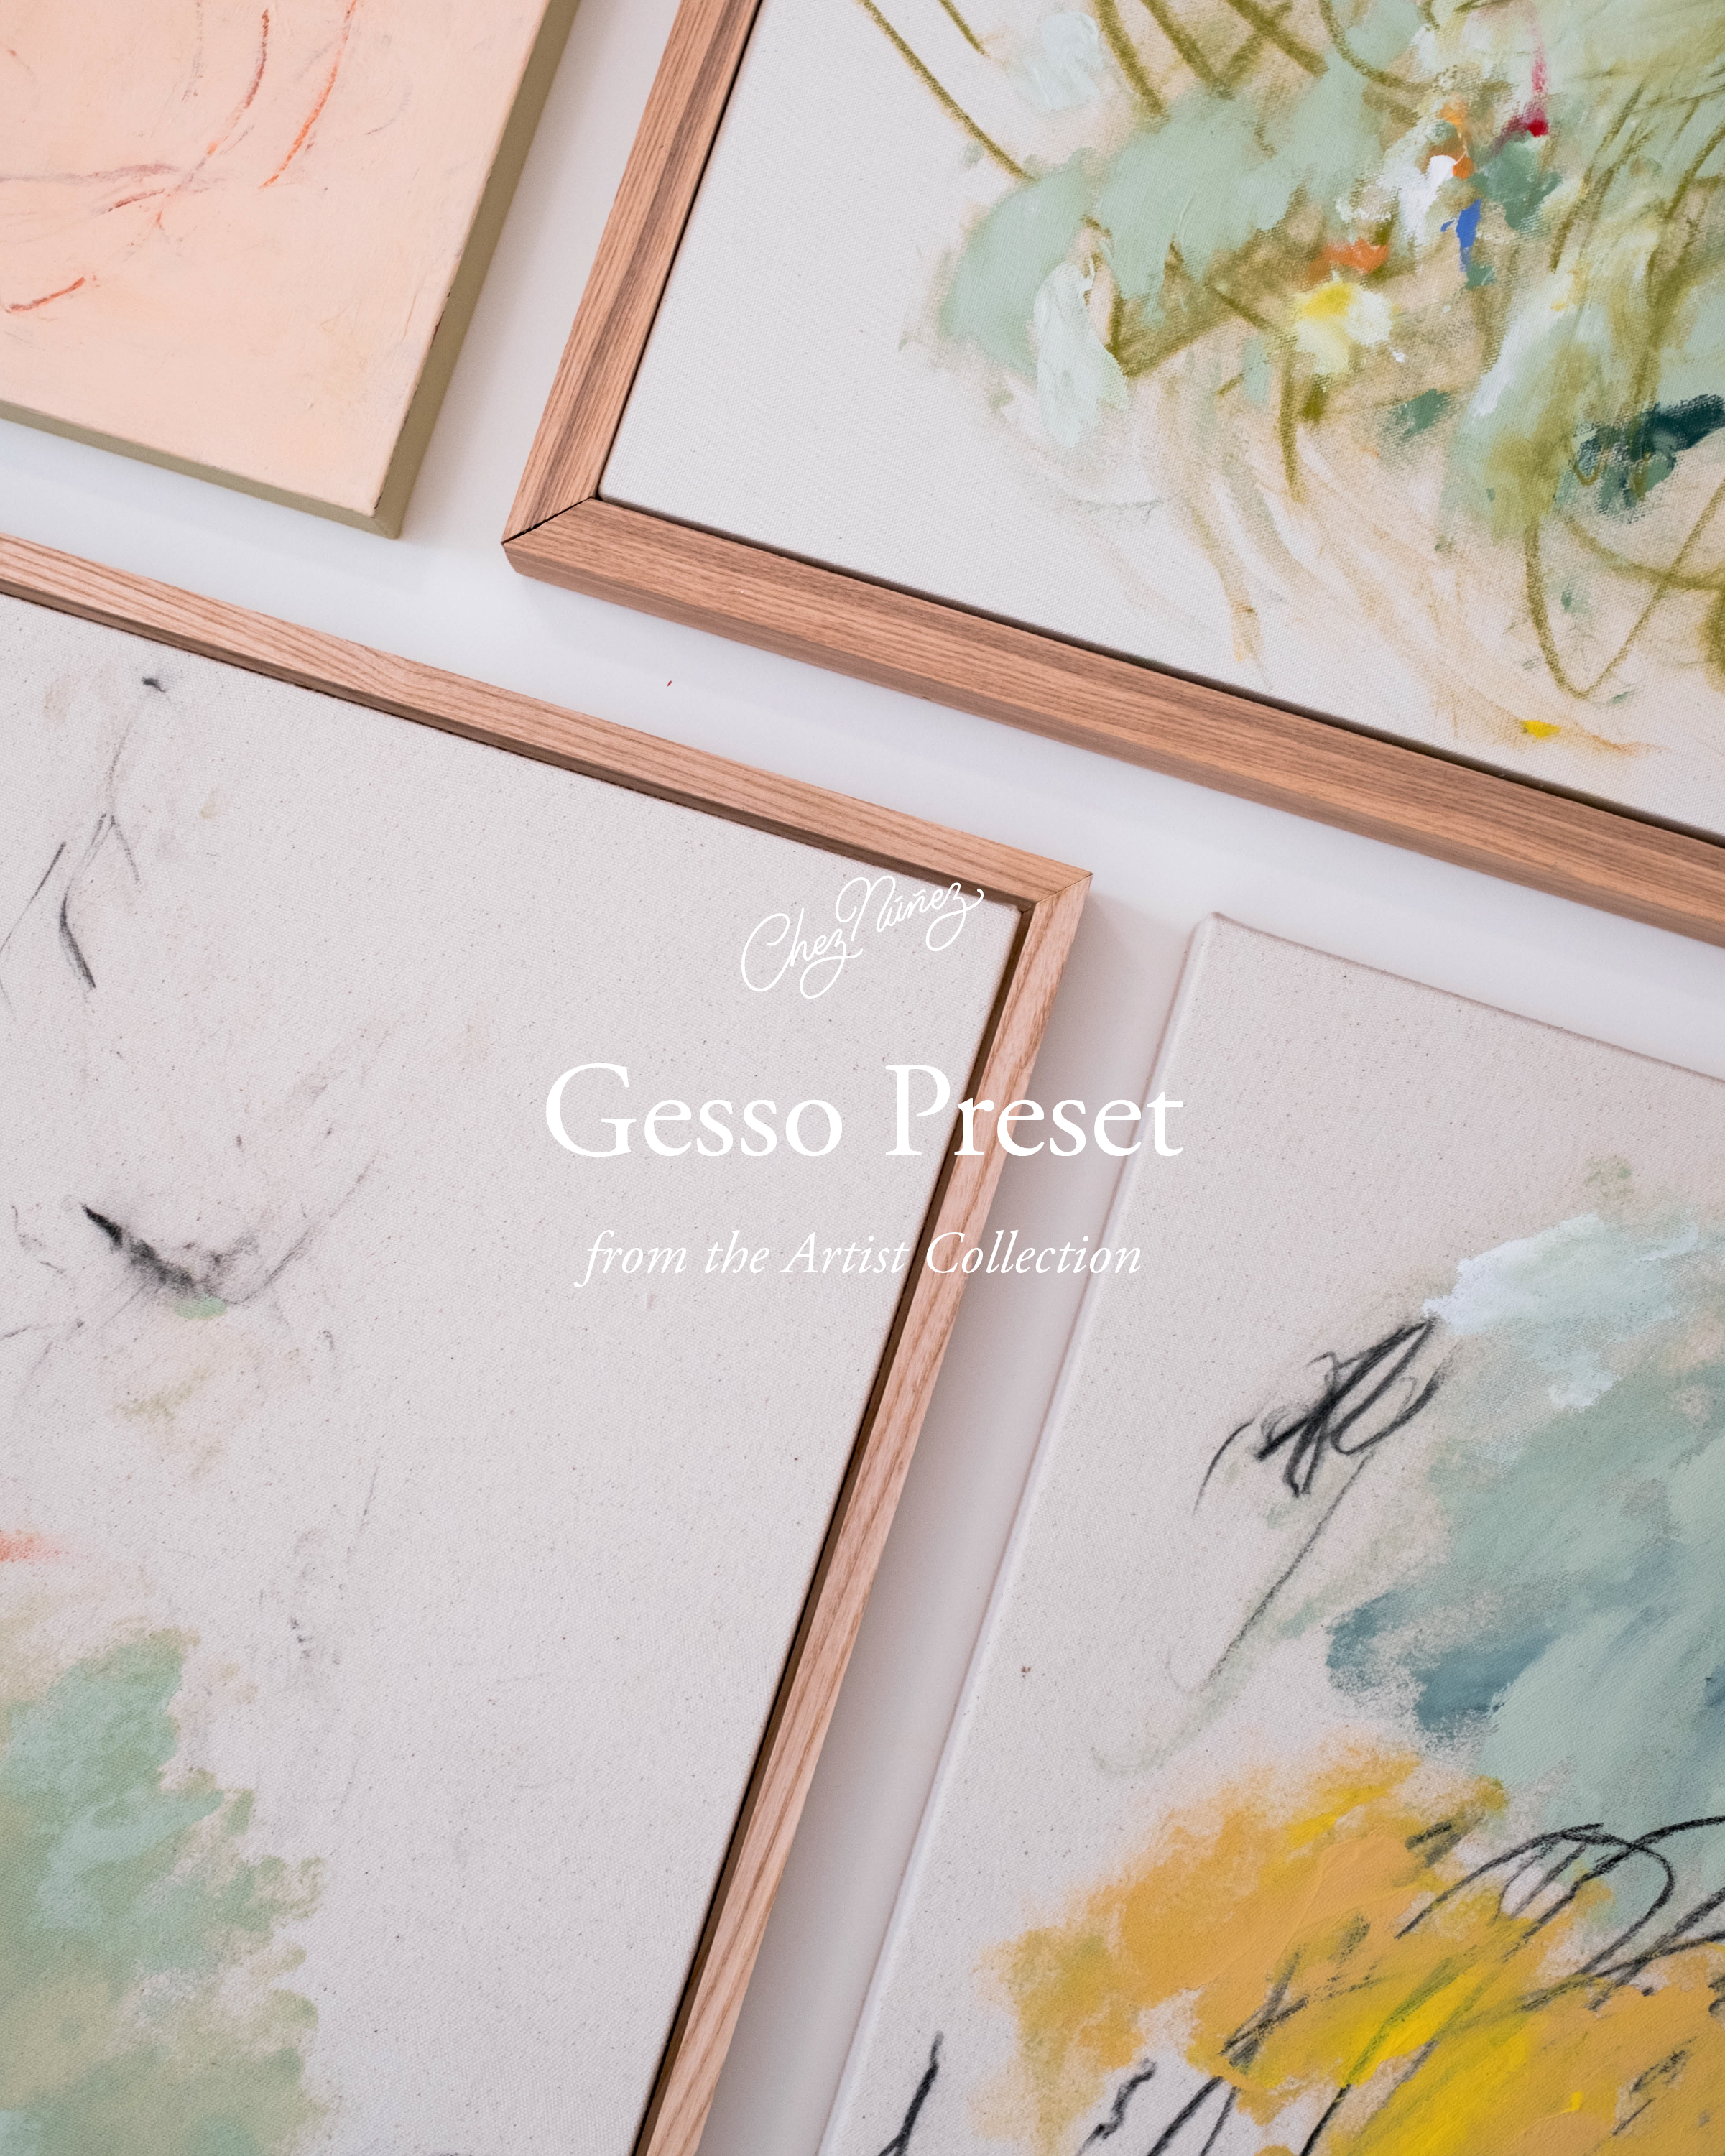
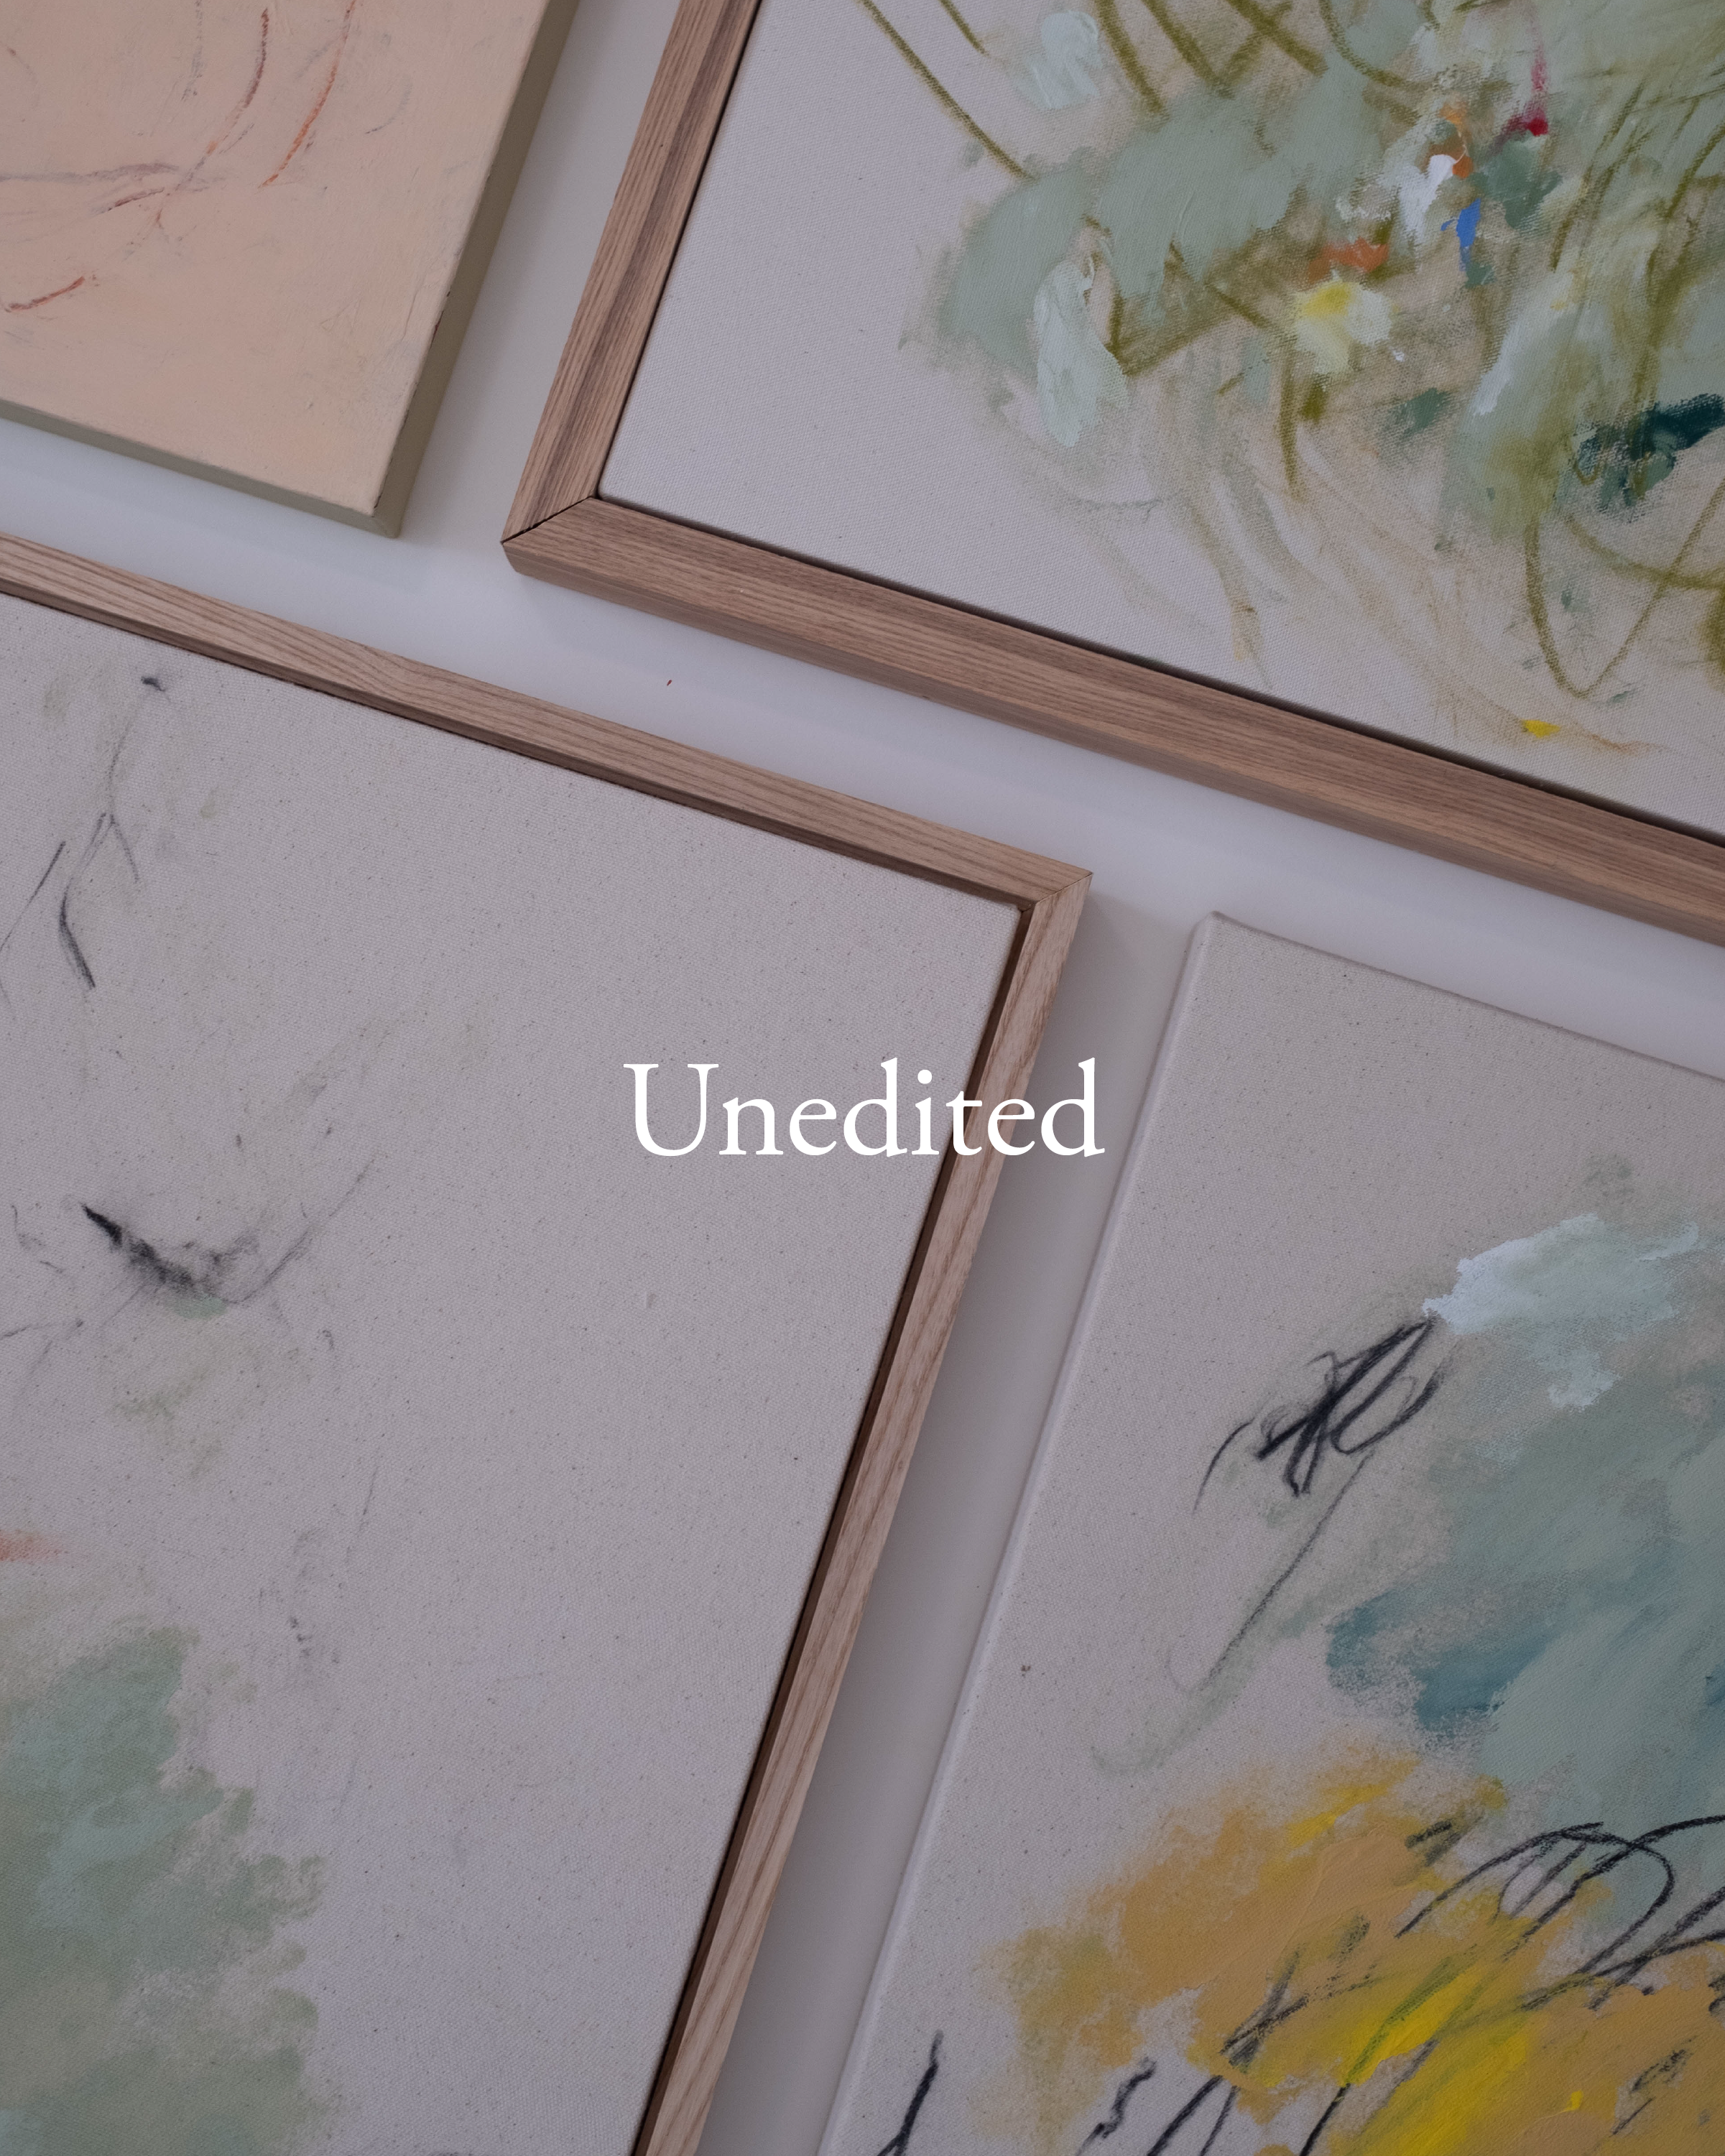
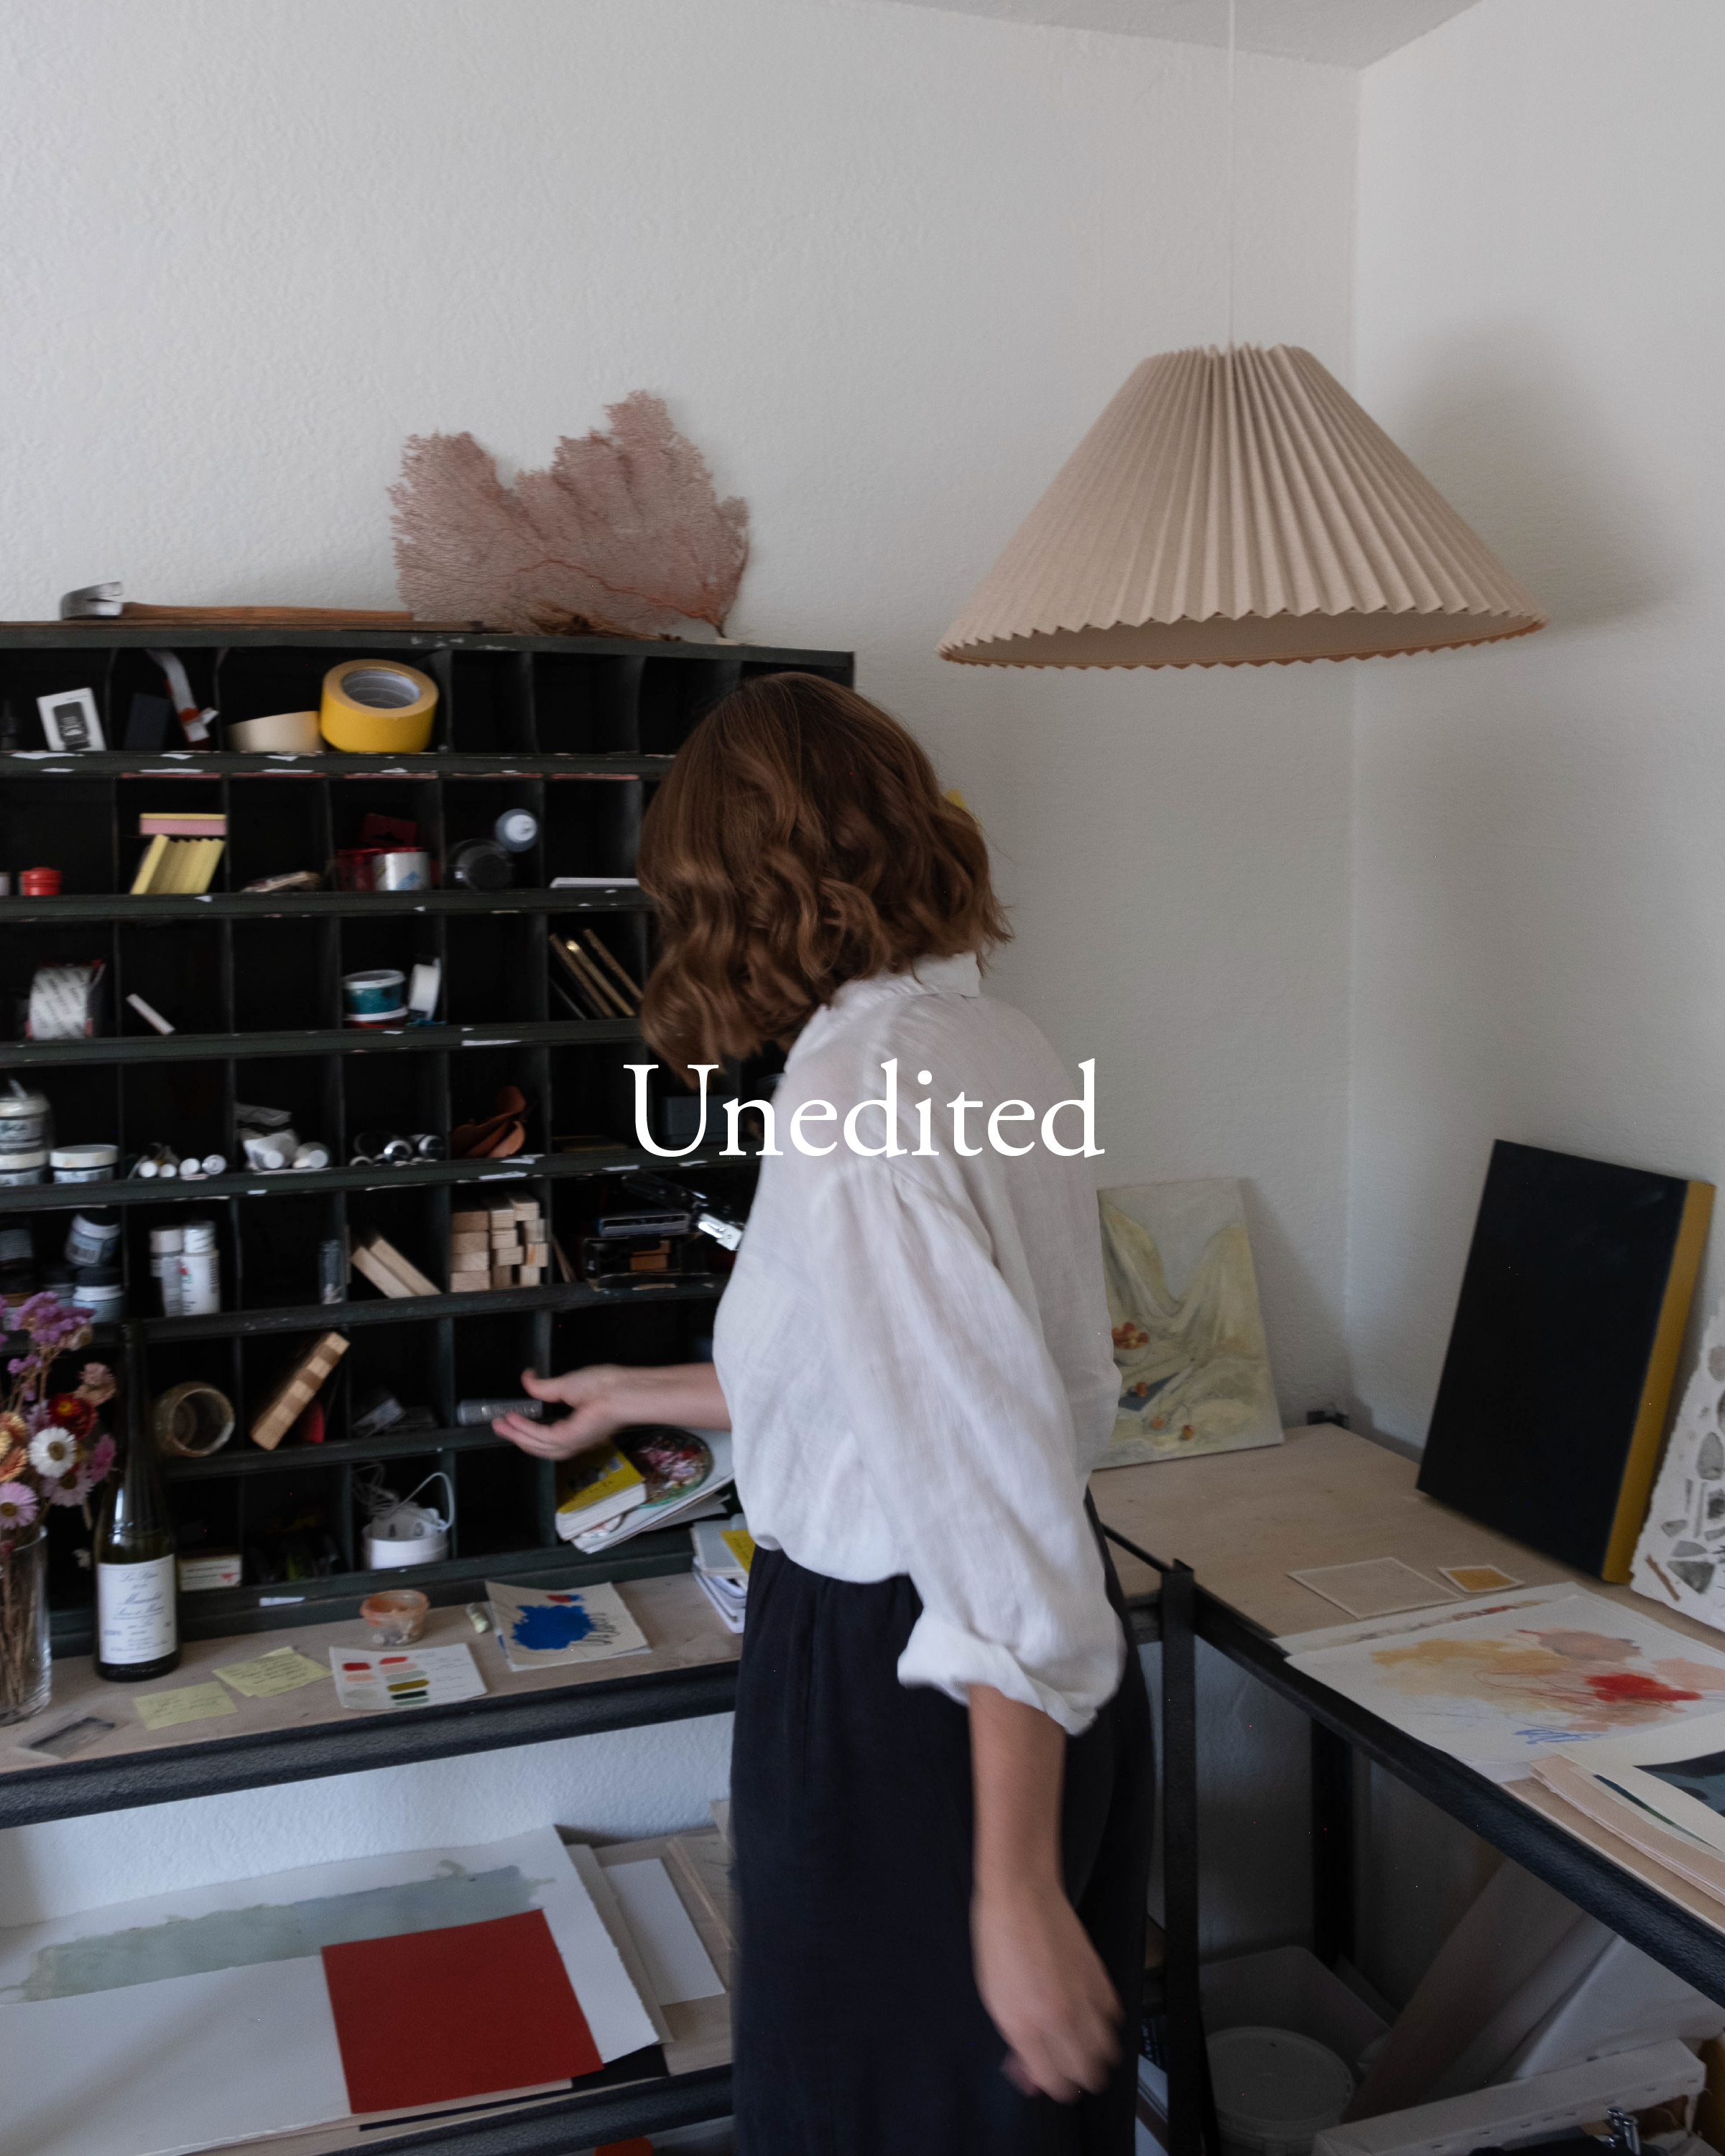
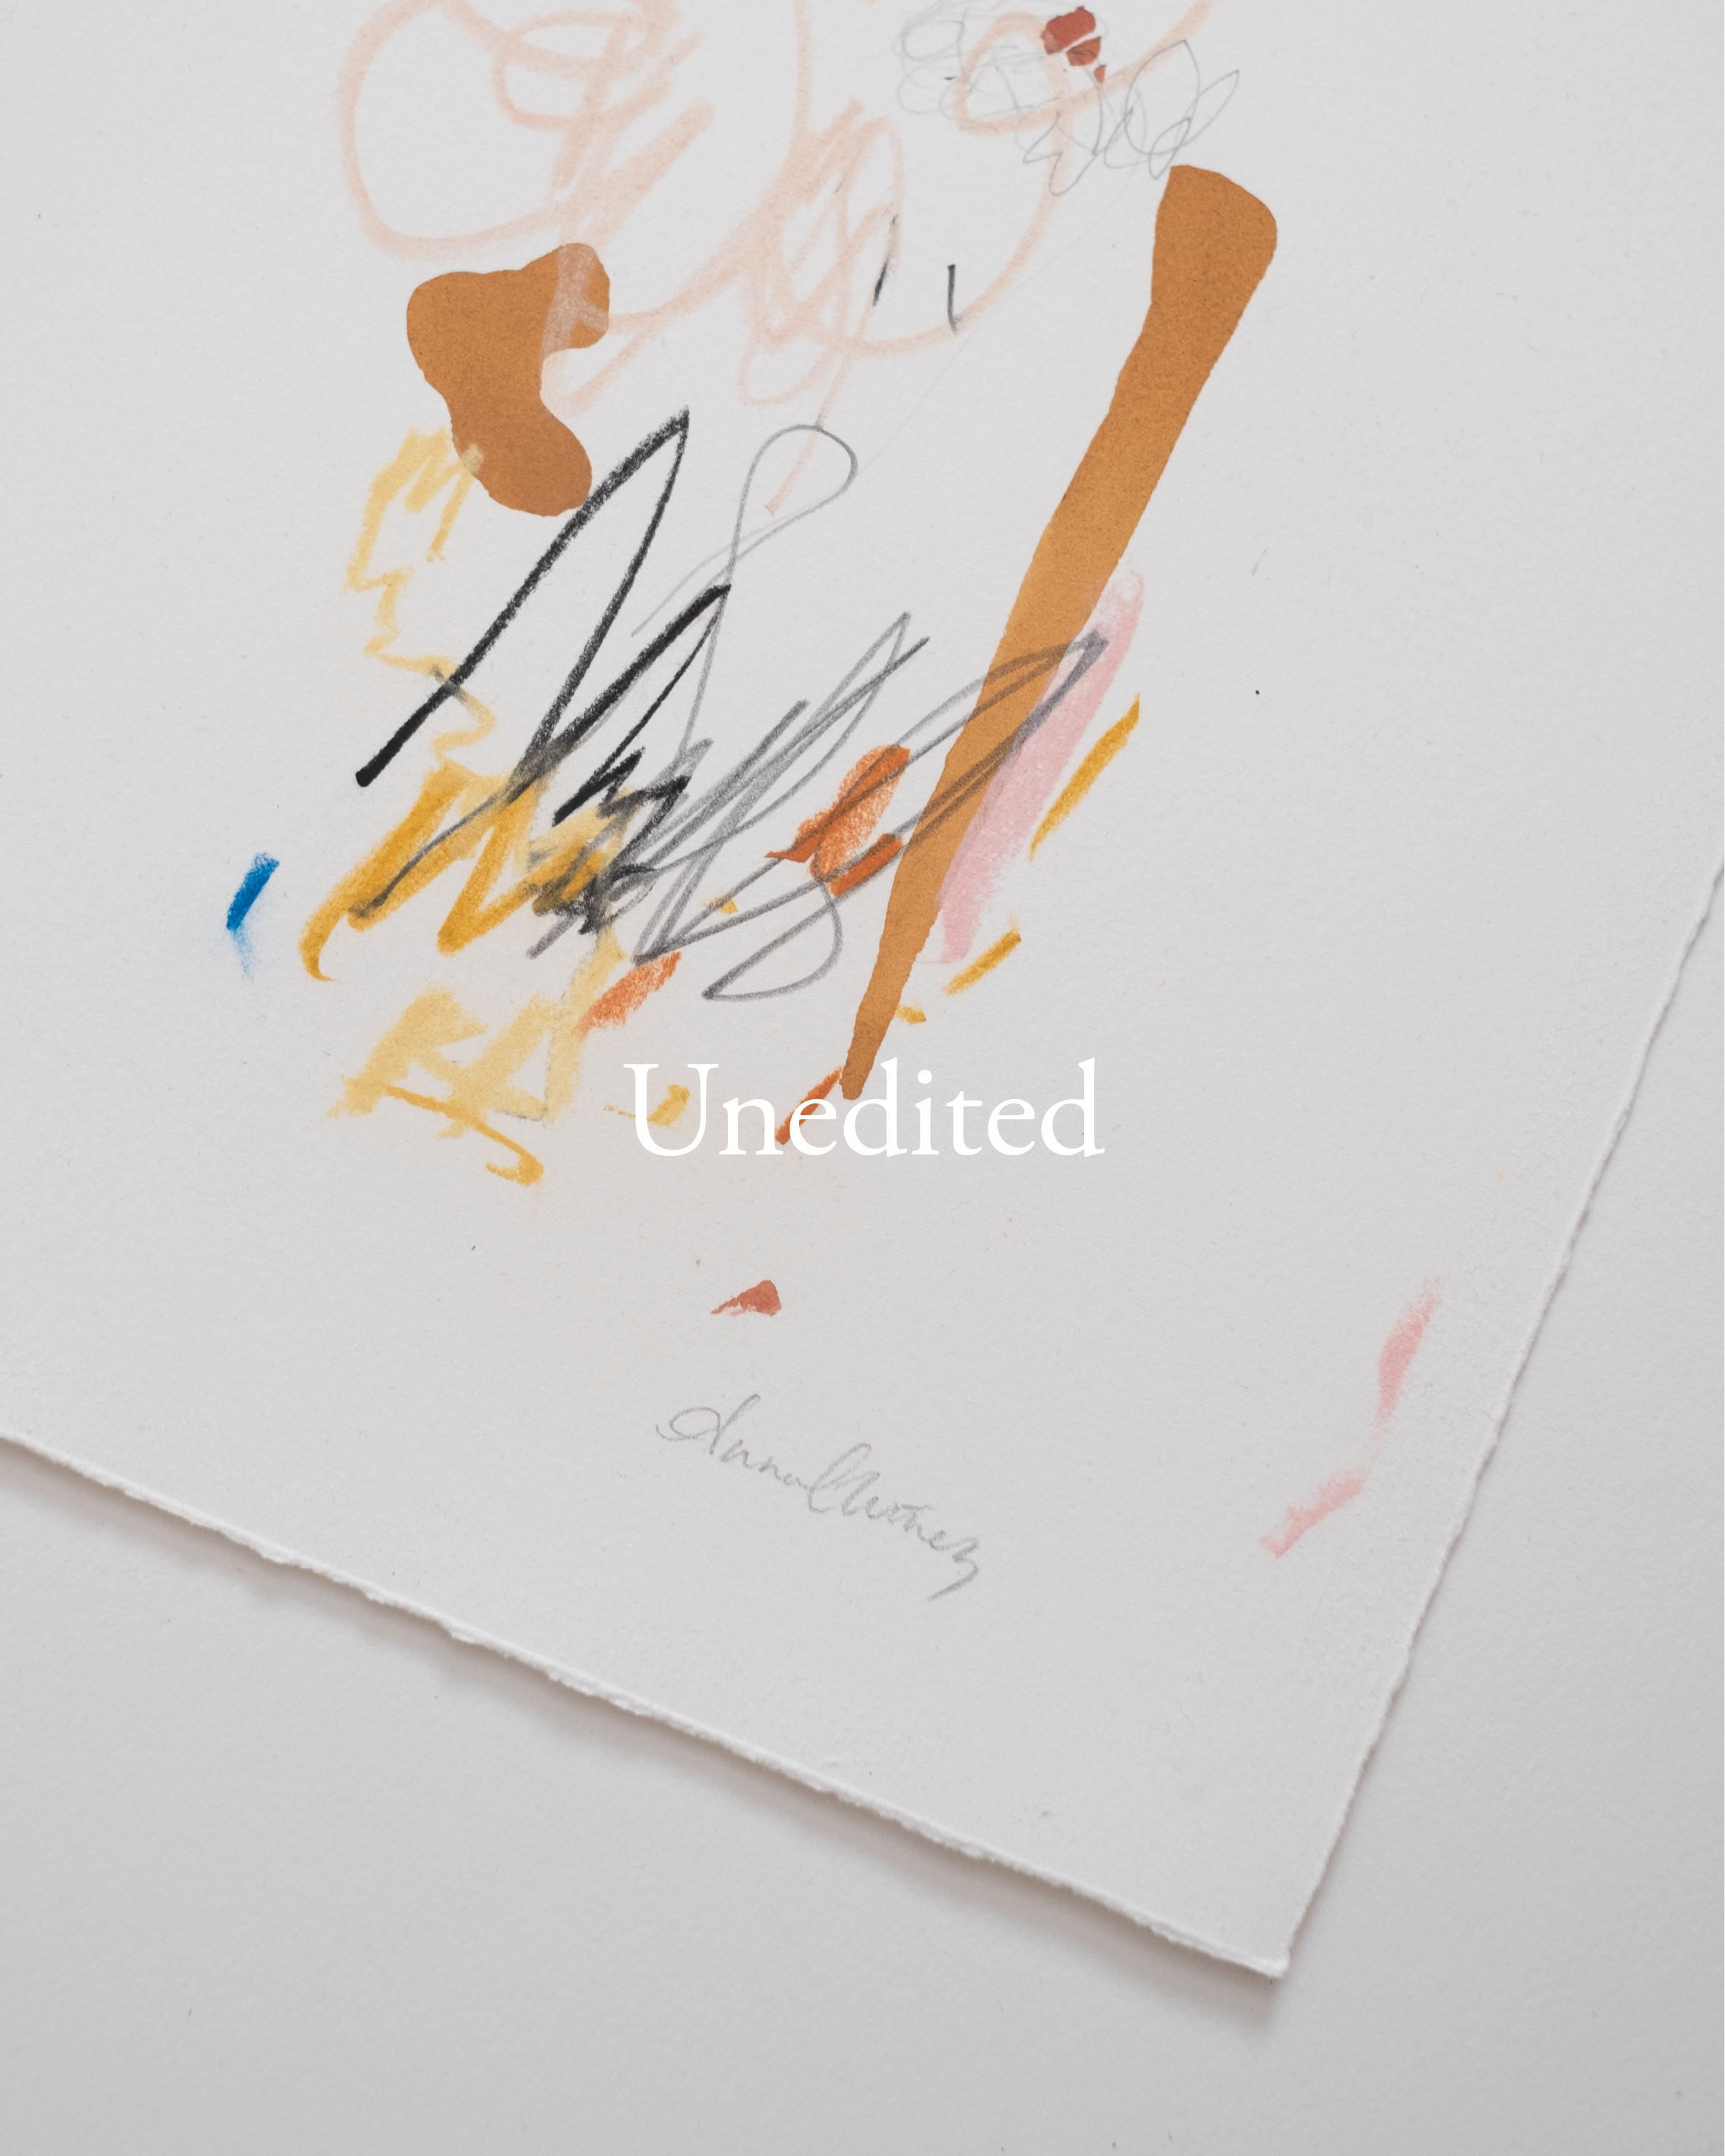
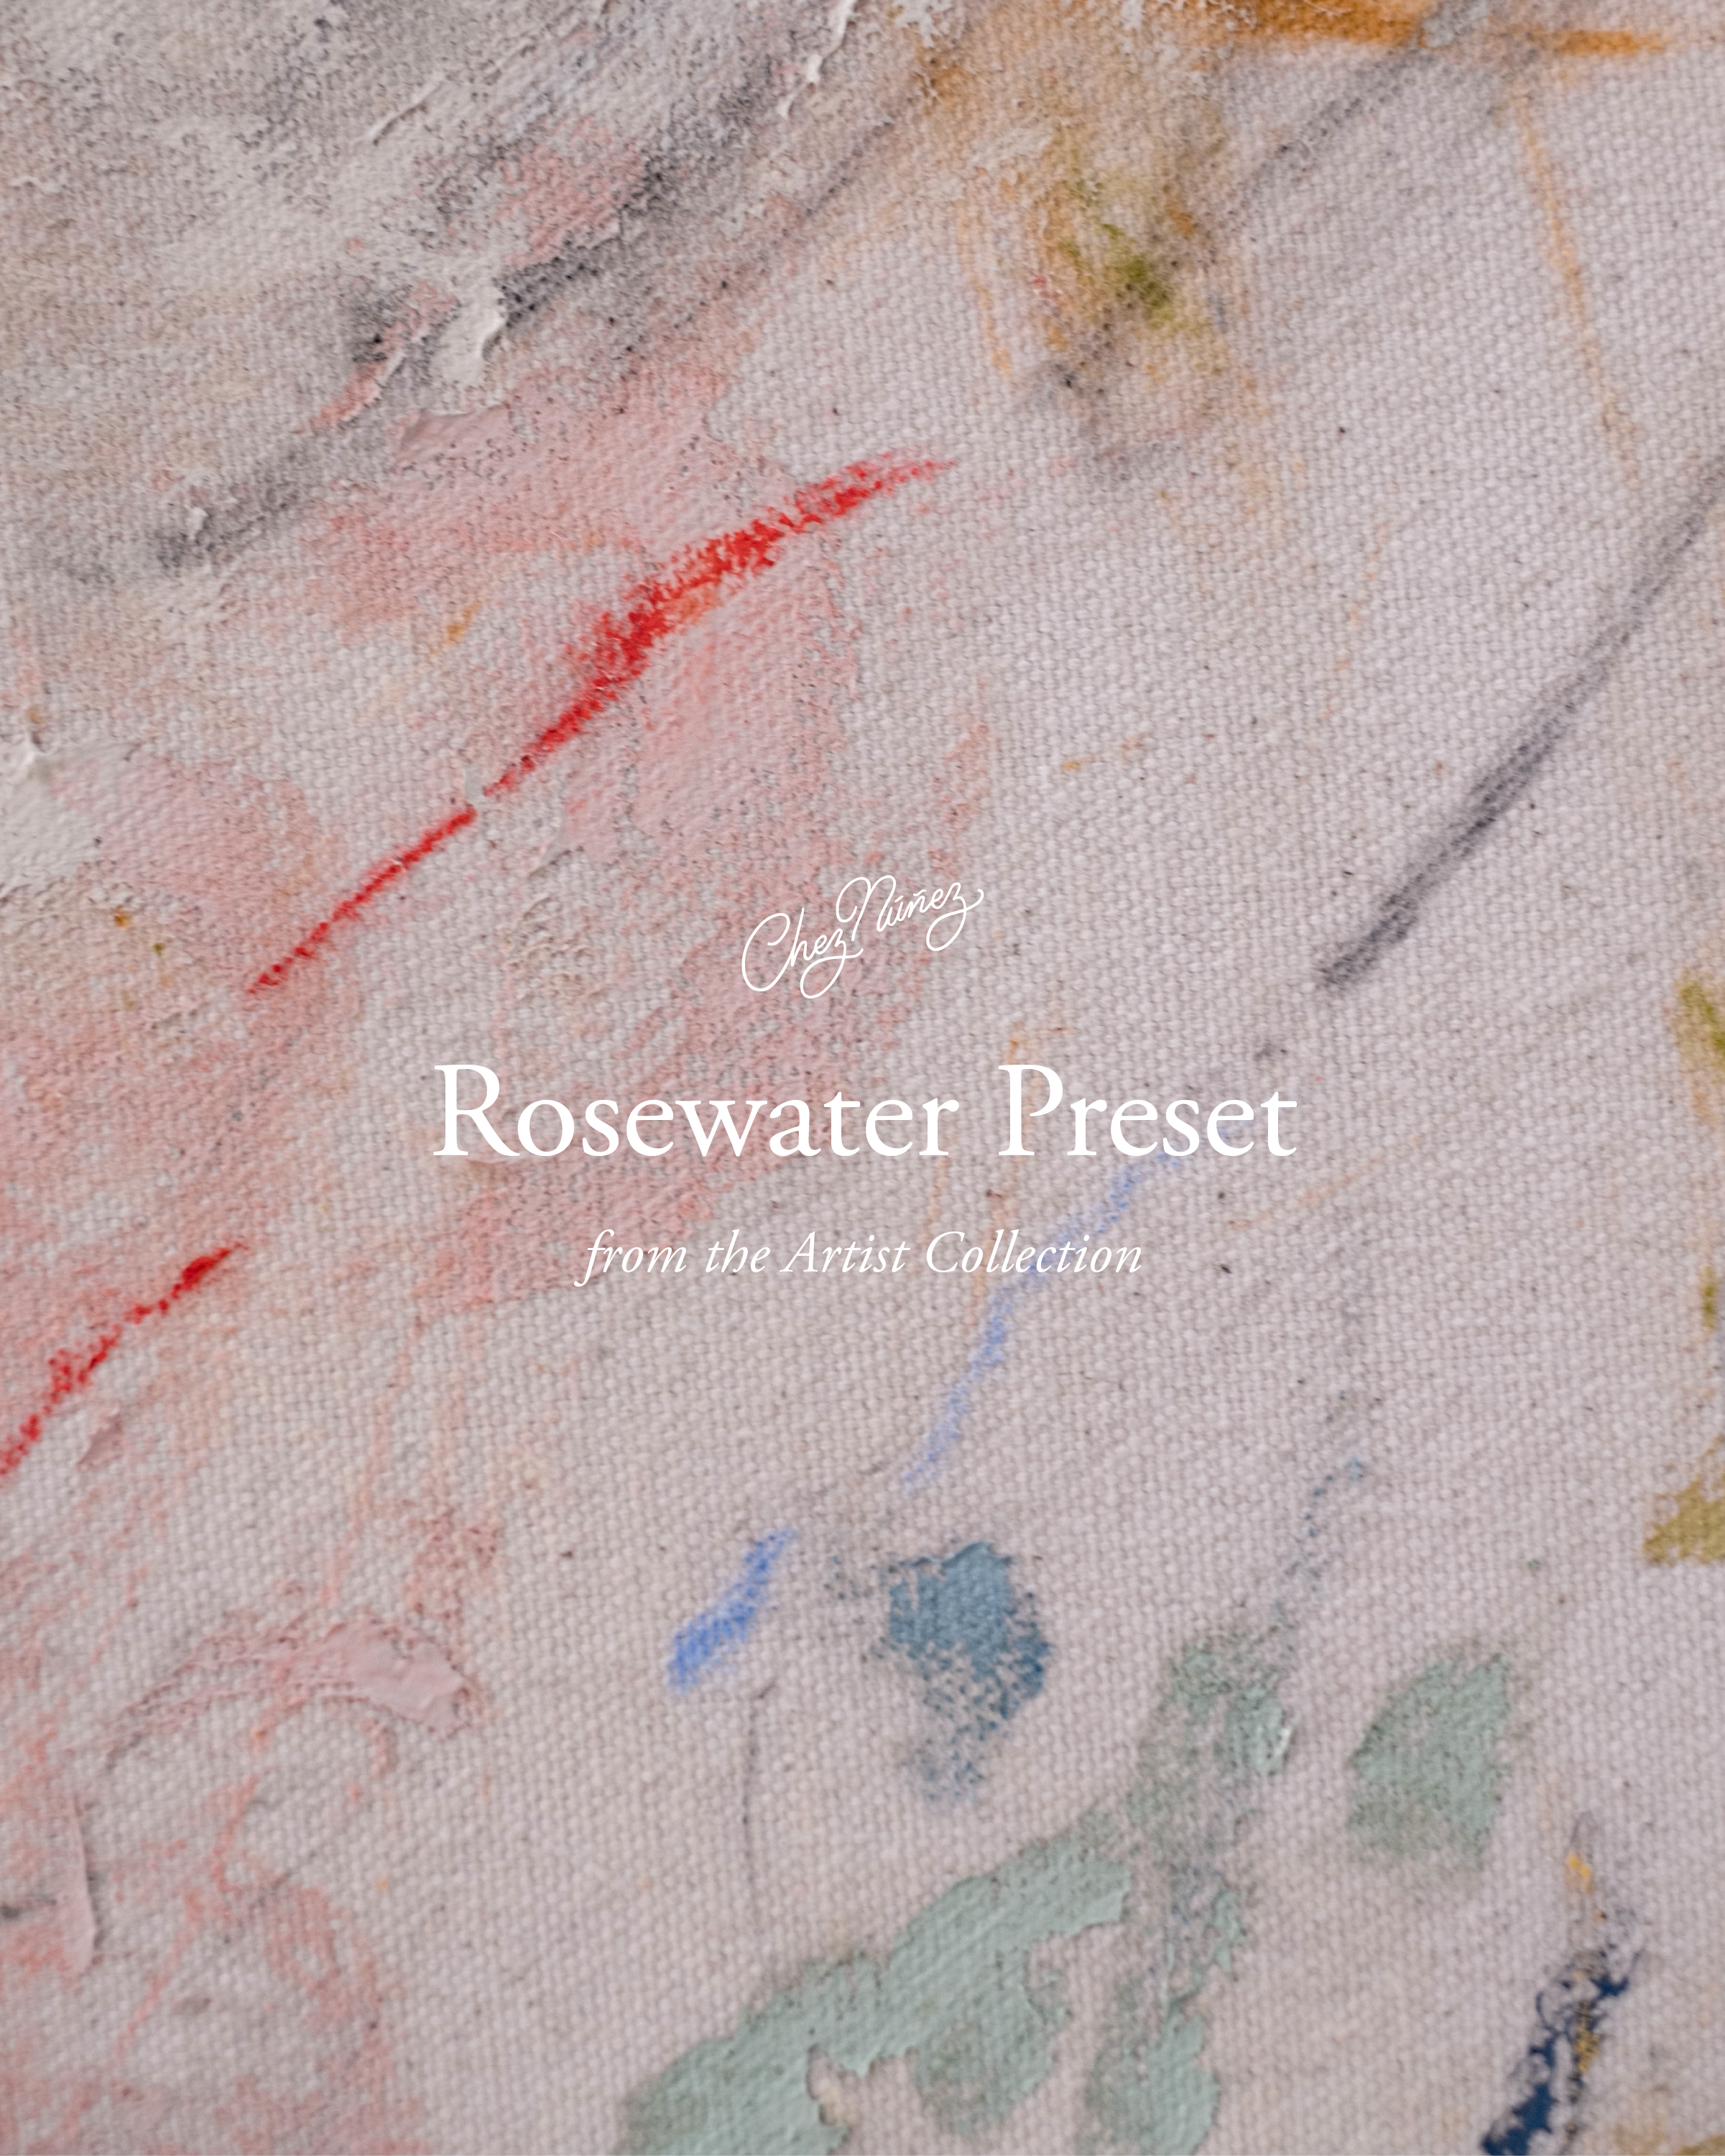
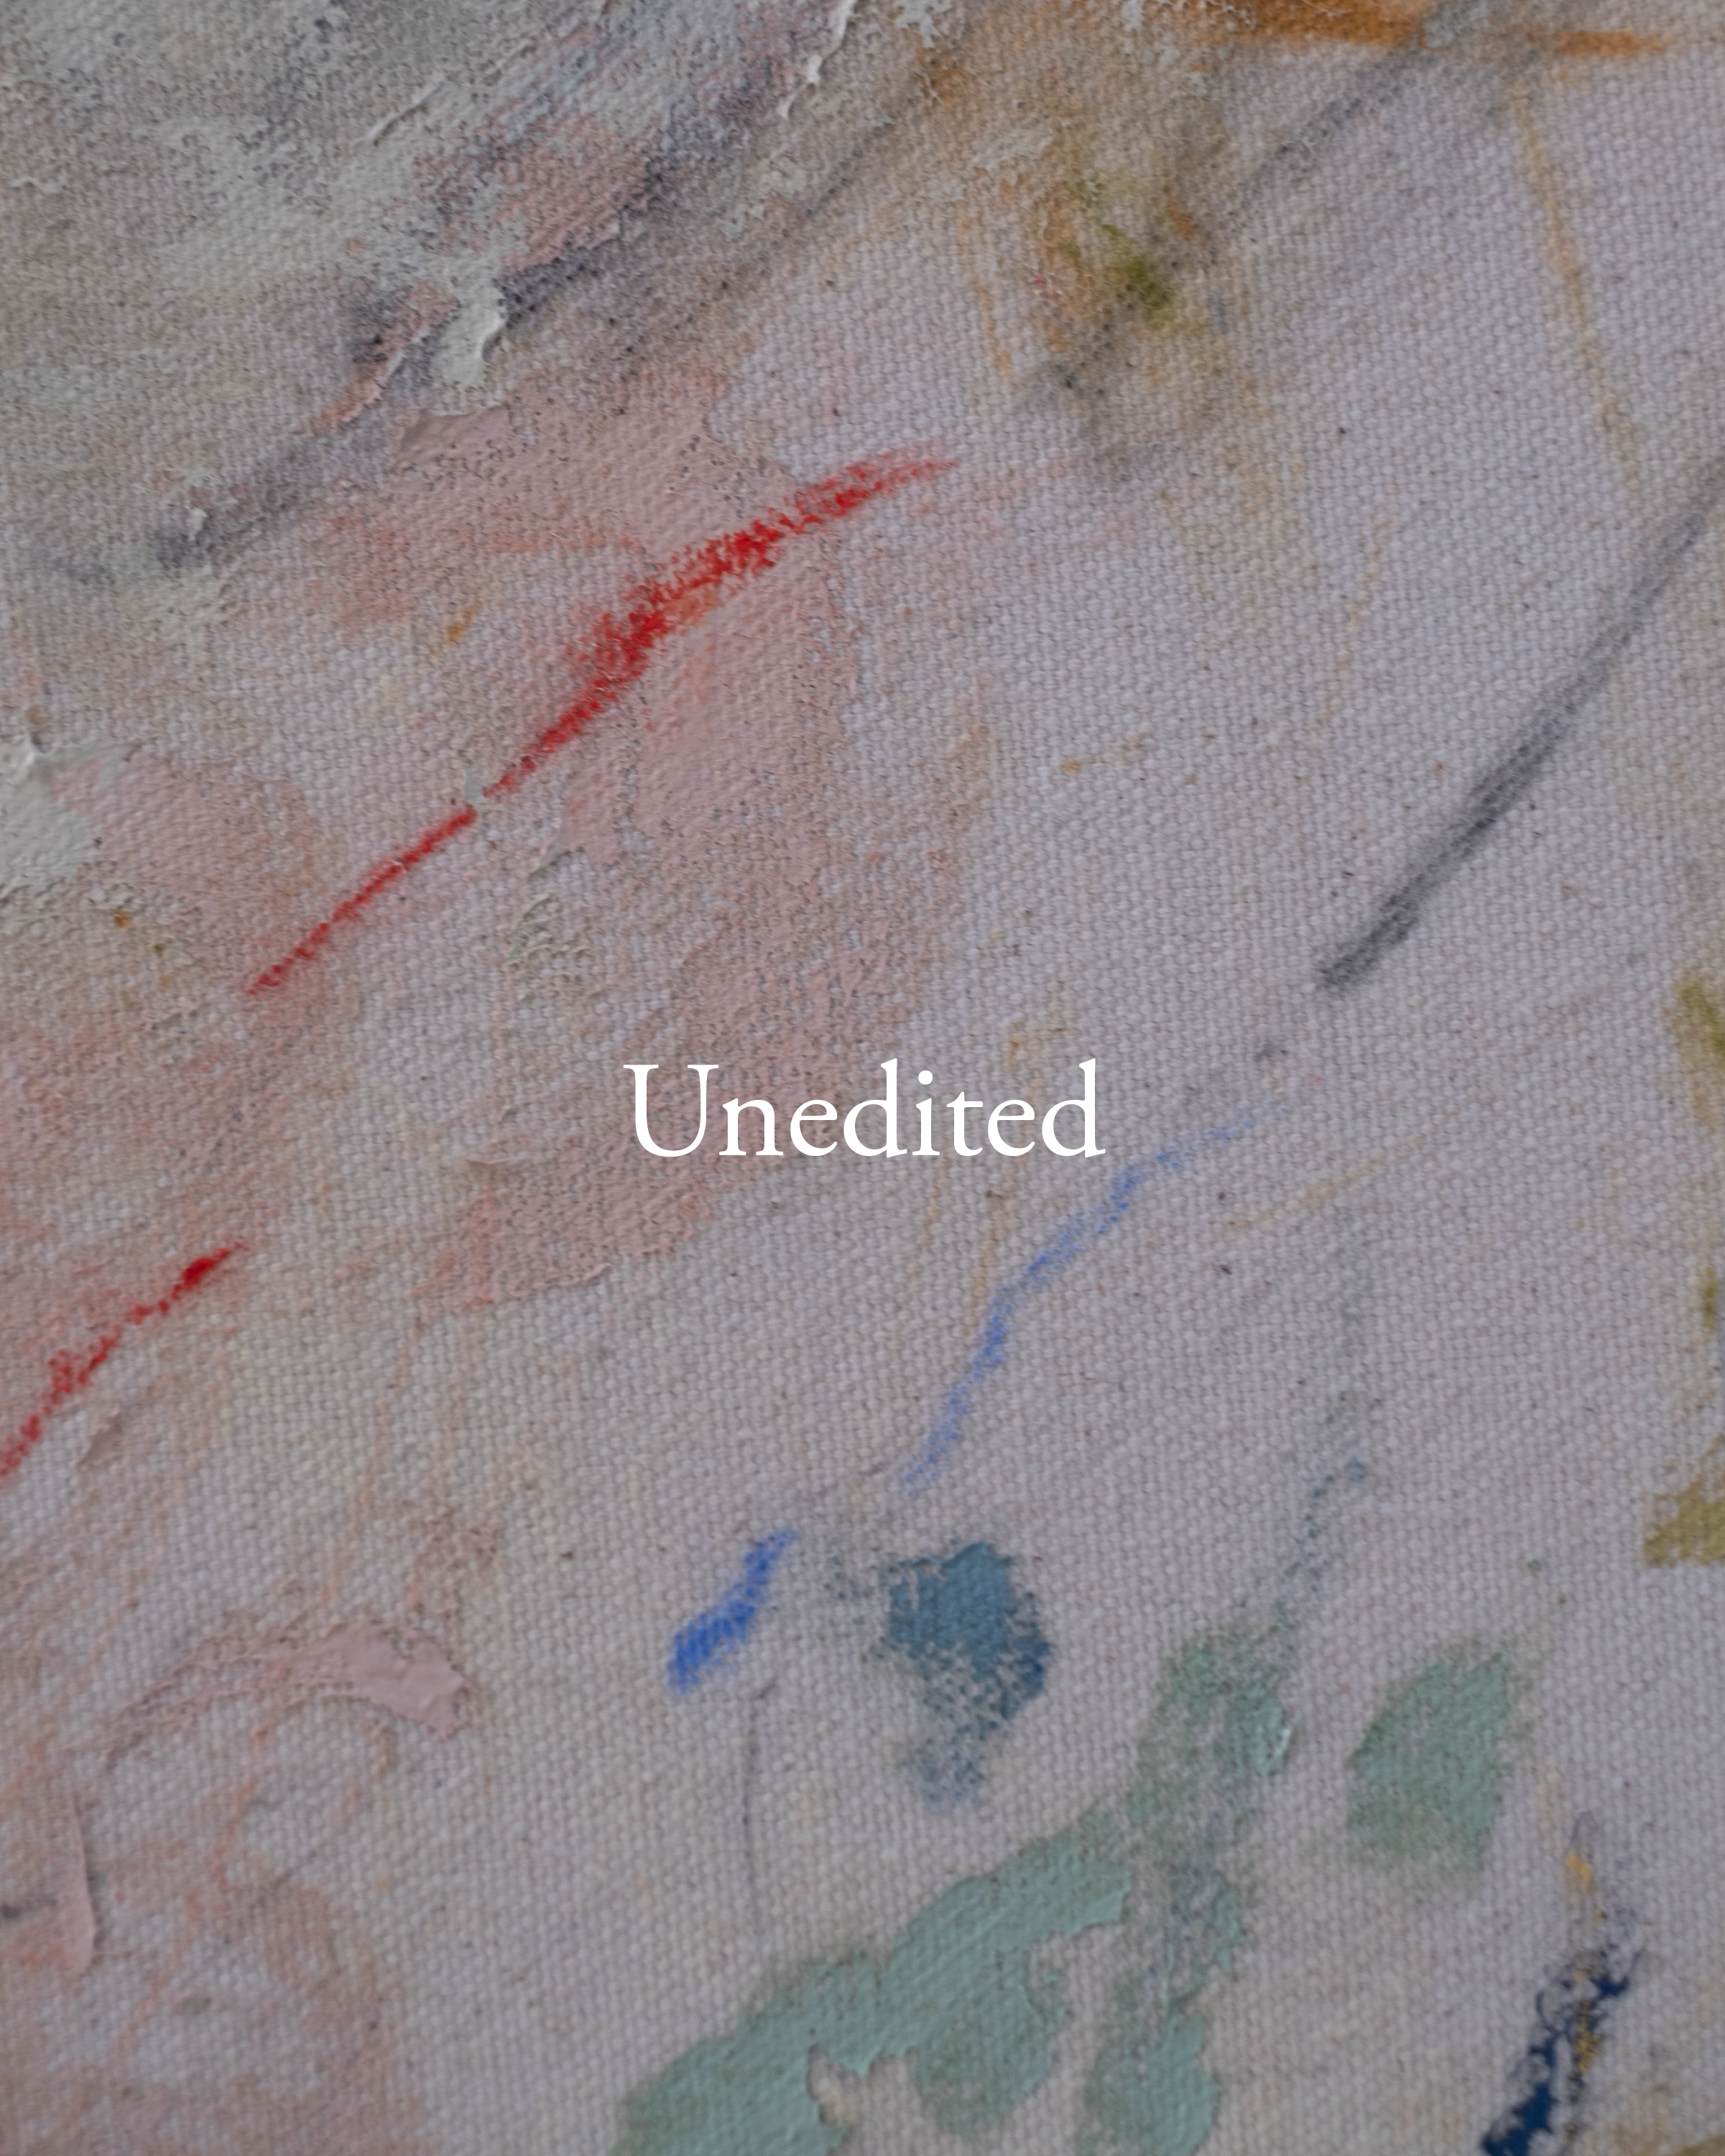
New presets for artists are coming soon to the Chez Núñez shop! To celebrate, we created a YouTube tutorial demonstrating how to edit photos of your artwork in the free Lightroom Mobile app.
By the end of this tutorial, you'll walk away feeling confident in your ability to navigate the Lightroom mobile app as you create beautiful photos for your brand.
We'll demonstrate how to apply and customize a preset to make your work shine, so you can keep the color of your artwork true to life and set your brand apart with an elevated style.
This video is a fun one! Give it a watch or keep reading if you'd like to digest the content in a written format.
When it comes to editing images of your artwork, there are two big priorities to keep front of mind:
1. You want the photos of your art to stay true to color (so your collectors have an accurate idea of what they're purchasing from you online)
2. You want the photos of your work to look elevated and reflective of your brand's unique style!
You CAN successfully strike a balance between these two things for your brand, whether you feel like a photo pro or a total beginner!
Lightroom is our editing tool of choice for accomplishing both of these priorities because the program offers you the highest level of customization when it's time to edit photos of your work. But again, you don't need to be a pro to make these customizations.
While the app might seem complicated at first, it's quite user-friendly and easy to navigate once you get in there and start playing with presets and settings (see the above video ;)).
Here are some steps to follow as you're editing your artwork:
Step One: Shoot your photos with natural, even light
It doesn't matter if you're shooting your work on a fancy camera or your iPhone. When you start documenting your finished work, you just want to ensure your light is even – this means avoiding super dark, harsh shadows, or photos that look crazy bright and over-exposed. The more even, neutral lighting you can work with while shooting your art, the easier your life will be when you go to edit your photos.
That being said, there's always room for exceptions regarding creative expression, so just use your judgment if you feel like going outside the box on this.
Step Two: Download Lightroom Mobile (it's Free!)
Make sure that you've downloaded the FREE Lightroom Mobile app! Click HERE if you need it.
Step Three: Upload Your Presets to the App
Make sure your presets are uploaded and ready to put to use.
In this post’s video tutorial, we’re using our Chez Núñez Artist Preset Collection (Launching July 26, 2022)
If you're intimidated by the process of installing your preset, we got your back! We made a tutorial for you that walks you step-by-step through the installation process for Lightroom Presets. You can watch that here.
Step Four: Apply Your Preset!
Load your photos into your app and select your preset based on your brand's desired vibe and style!
This demonstration features our Artist Preset Collection (which you can find here once it's live on July 26, 2022).
When editing a photo using a preset, sometimes things just click, and no further adjustments are needed. On the other hand, sometimes you need to do a little bit of adjusting to get that preset to best compliment your photo. No worries! Lightroom mobile actually lets you adjust the saturation of the preset right off the bat – so that you can apply a more or less intense version of that edit. From there, we'll show you how to go further with some simple settings that will help you fine-tune your photo.
As you're editing, remember that there's never a one size fits all preset for every possible camera setting or lighting scenario. Still, you CAN find great flexibility with a preset with some minor edits.
Plus, the more you practice playing around in the app, the more comfortable, confident, and quick you'll get with it! :)
Step Five: Make Some Quick and Simple Adjustments to Taste
Here are the four main settings that I focus on after applying a preset:
1. Exposure
Under the "Light" section, you'll find the exposure setting. After applying a preset, I like to start here and ensure that the photo has the right brightness level! Sometimes a picture looks too dark or too bright after applying a preset, so the exposure setting is a great place to begin customizing your edit.
2. Contrast
Right under the exposure bar, you'll find the contrast setting! Sometimes contrast in a photo can vary widely, so this is a simple next step if you need to adjust the contrast.
3. Tint + Temp
Under your app's "Color" section, you'll find bars to adjust the tint and temp. Adjusting these settings will be how you control the warm or cool vibes of your photo! If your photo looks too orange or blue after applying a preset, this section will help you change the feeling of your image if it's a little too warm or cold for your preference.
4. Color
While you're still in the "Color" section, look to the top right of your settings, and you'll see a button that says "Mix." The color mix option might be our favorite part of the Lightroom app because it'll let you select individual colors in your image to adjust the hue and saturation of THAT color!
For example: if you're editing a photo of a painting with a lot of blues in it, and they're showing up really teal in your original photo, you can come to the color mix panel, select the blue button, and make adjustments to get those blues looking more true to life! It's MAGIC.
The color mix panel is a game changer for editing photos of your art! Play around with it, and you'll be amazed at how much creative freedom you have in your editing process.
Step Six: Save and Share Your Work!
Last but not least, save your beautiful photos and start sharing those babies with the world! Don't be shy! Your brand is always bound to evolve alongside your stylistic preferences and skills.
With some consistent practice, you'll find yourself honing your brand's style through the cohesive photography and presentation of your artwork! It's a process that's worth the time and care because your photography is constantly shaping your brand's first impression. Collectors notice and love when your photos look clean and professional, even if they're not vocalizing it.
So! Grab some presets that resonates with you, have some fun playing around with the free Lightroom app, and sprinkle some magic dust on your beautiful brand photography.
The presets used in this post/tutorial are our new artist presets. They'll be live on July 26, 2022, if you're reading this before that date. We can't wait to share them with you!
You got this! Let us know in the comments if you have questions. :)

