What I Use For Styled Photography

Over the years, I’ve really fallen in love with styled shoots and flatlays and have accumulated a wide variety of props in the process, along with some tricks for arranging images in a small space. Most of the goods that I’ve gathered have been super inexpensive - via thrift shops, antique stores, even the side of the road - and have come into my life very gradually over time. In the process, I’ve also learned to make really great use of the naturally existing things around me in my spaces (because hello, I don’t aim to be a total hoarder). I wanted to share a list of all the things I’ve ever used in a flatlay here, along with some tips, to hopefully help inspire you in the process of arranging your next styled image!
Moving forward, I plan to share more education on how I arrange, shoot and edit my flatlays. For now however, please check out this blog post - Styling Tips With Amanda - if you’re looking for some more general suggestions when styling, or this blog post - My Photography Process - if you’re interested in learning a bit more about how I shoot and edit images!
Enjoy!
Photography + Editing Tools:
Fujifilm x-Pro2 Camera
23mm f/1.4 lens
35mm f/1.4 lens (preferred for flatlays)
Chez Núñez Lightroom Presets, of course! ;)
Lightroom for Mobile and Desktop (the mobile app is FREE!)
Procreate App + Apple Pencil (if I want to add any fun extra details/drawings after editing)
iPad Pro (1st Gen) 12.9”
iMac or Macbook Pro 15”
Surfaces:
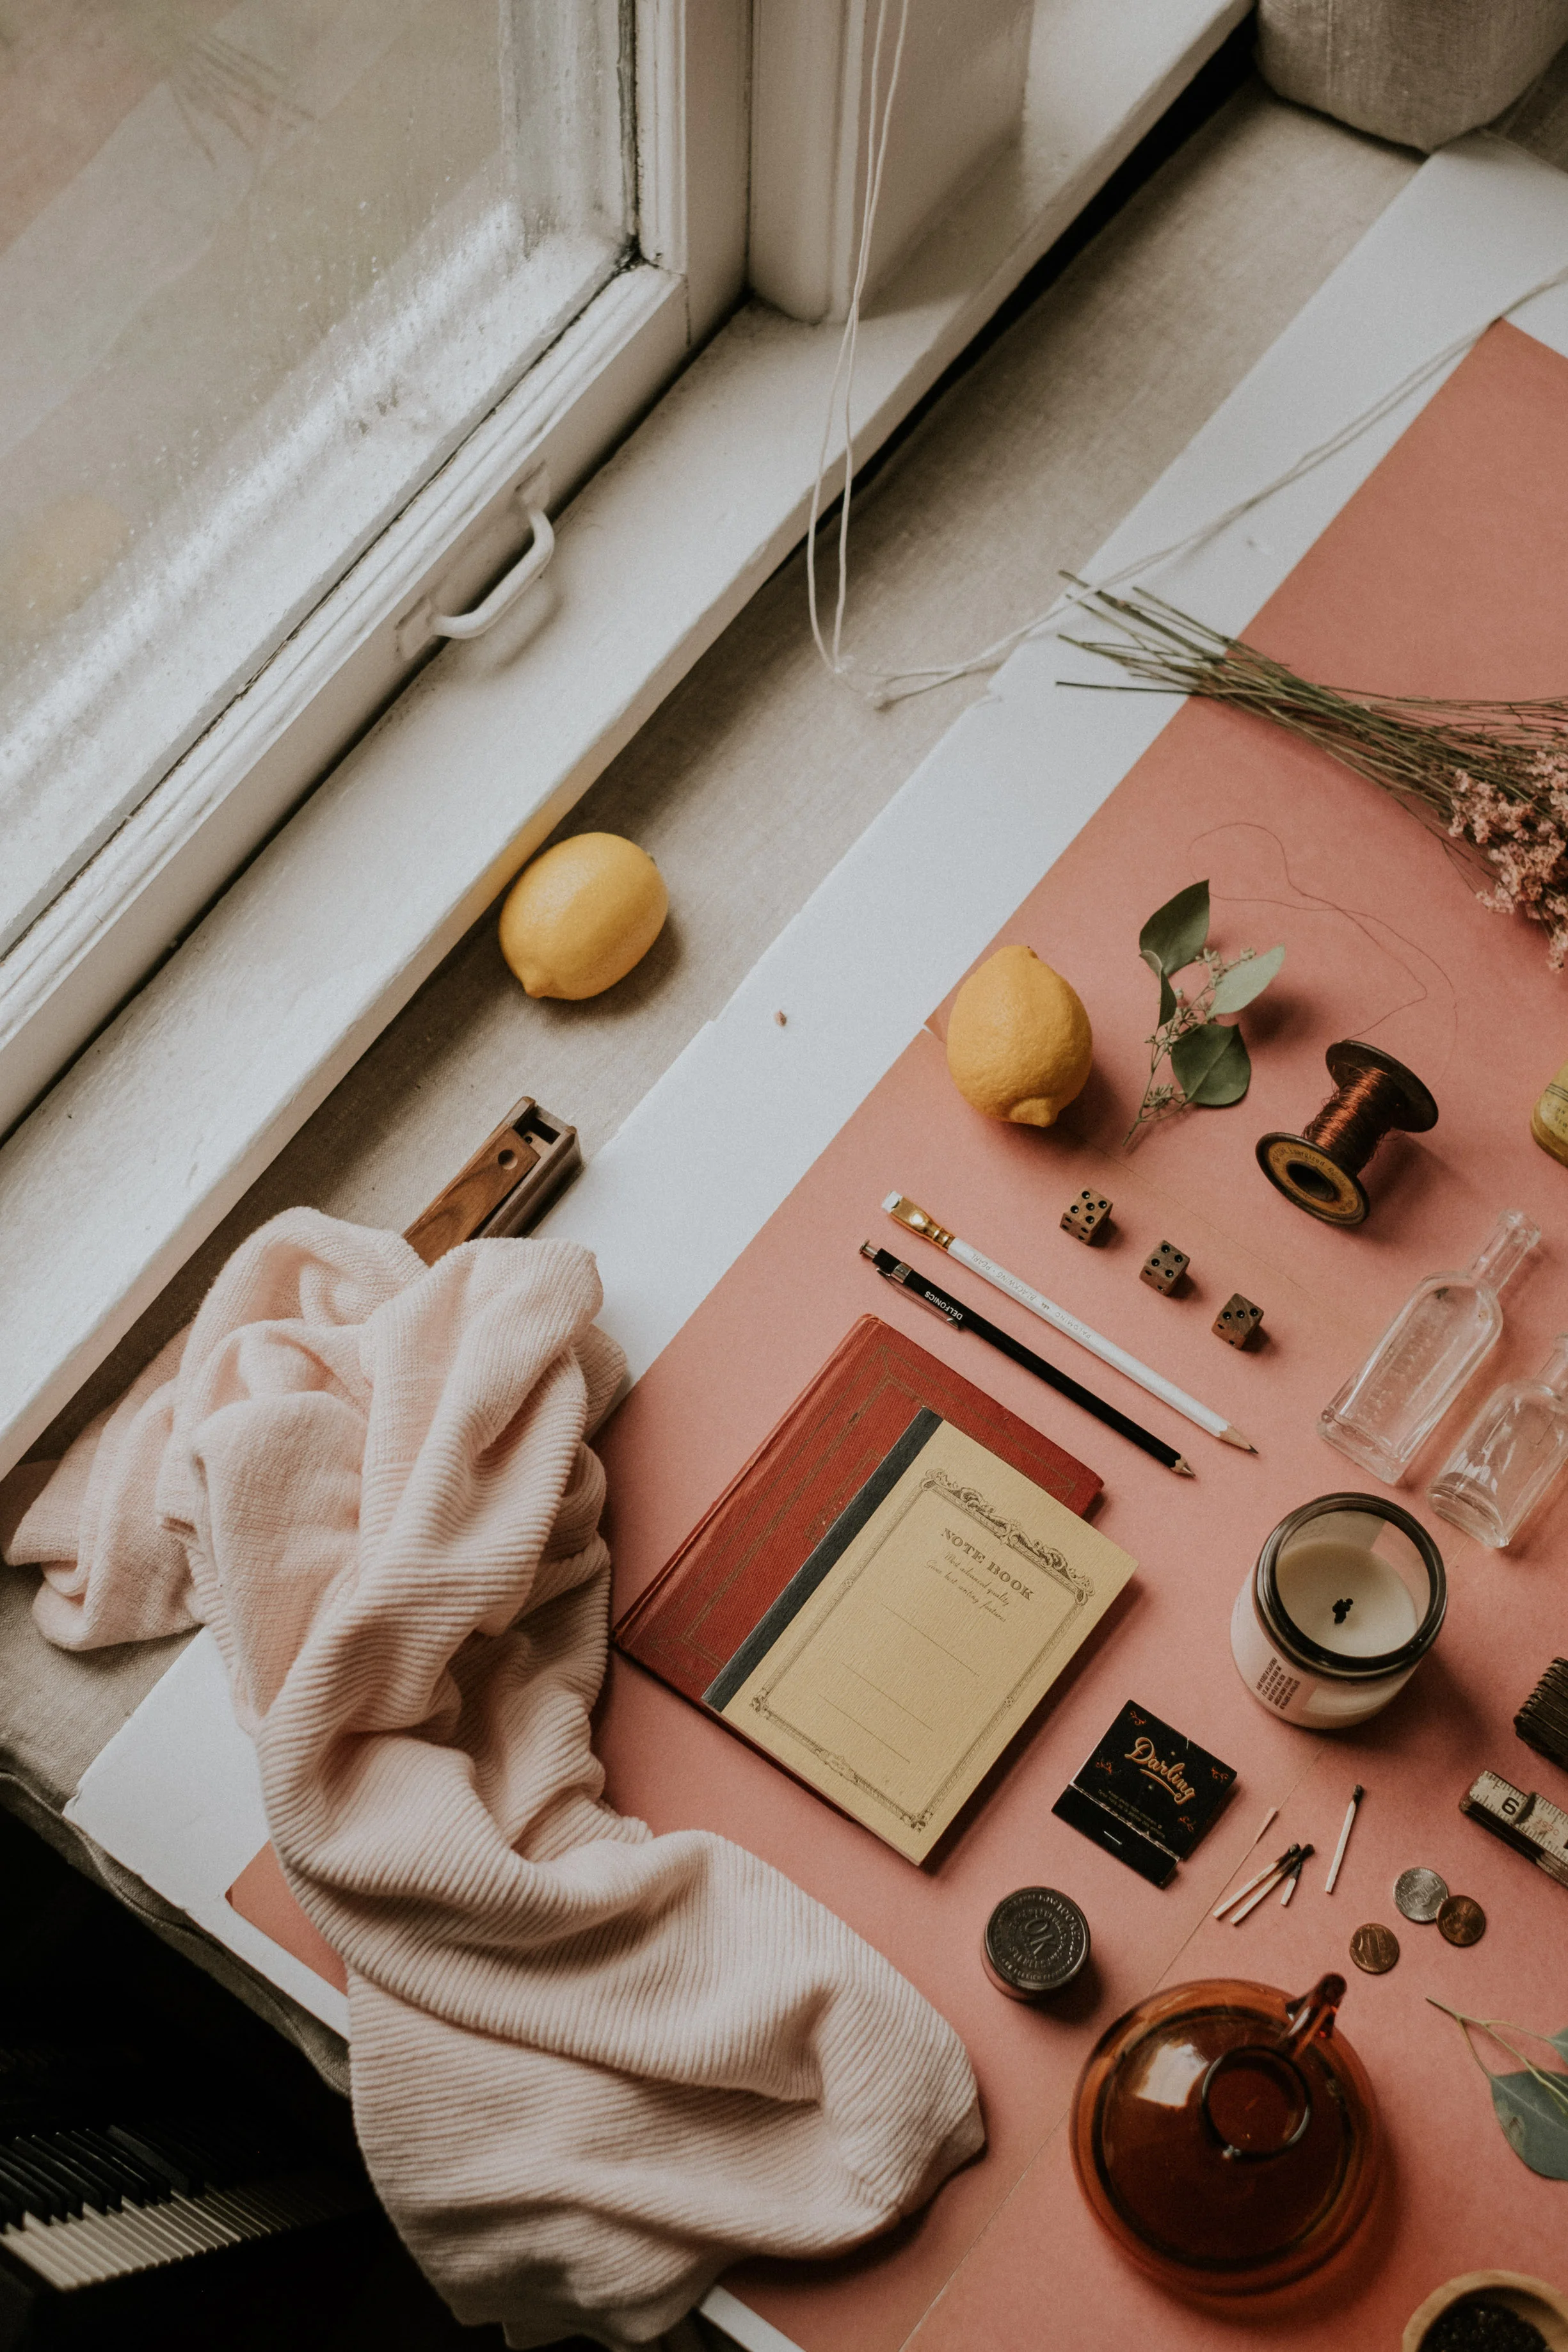
Foam-core or masonite board to use as a mobile surface. Because I live in a pretty small apartment at the moment, I’ve created flatlays from my bed, to my sofa, kitchen table, and even my living room floor when the light’s been right! Having a hard surface/board to style on just makes my flatlay work more mobile and accessible to the best lighting in the house.
Colored papers. I love using large pieces of poster-board or my vintage colored papers as backgrounds. French Paper Co. is my current favorite for pretty new colored papers, but you can also find lots of papers options at any local craft store.
A wooden table, floor, deck, or wooden board that you’ve built yourself! Because I often prefer my wooden floors, I’ve never built a background like this - but I know that there are lots of tutorials on how to build a faux wooden table surface out there. Here’s one that Tiffany Mitchell posted to her blog back in 2014.
Painted particle board! Particle board is a super affordable surface that you can buy in a large size at a Lowes or Home Depot and ask to be cut down for you. This would be an awesome alternative to a paper background if you needed a bigger, exact size or tougher surface.
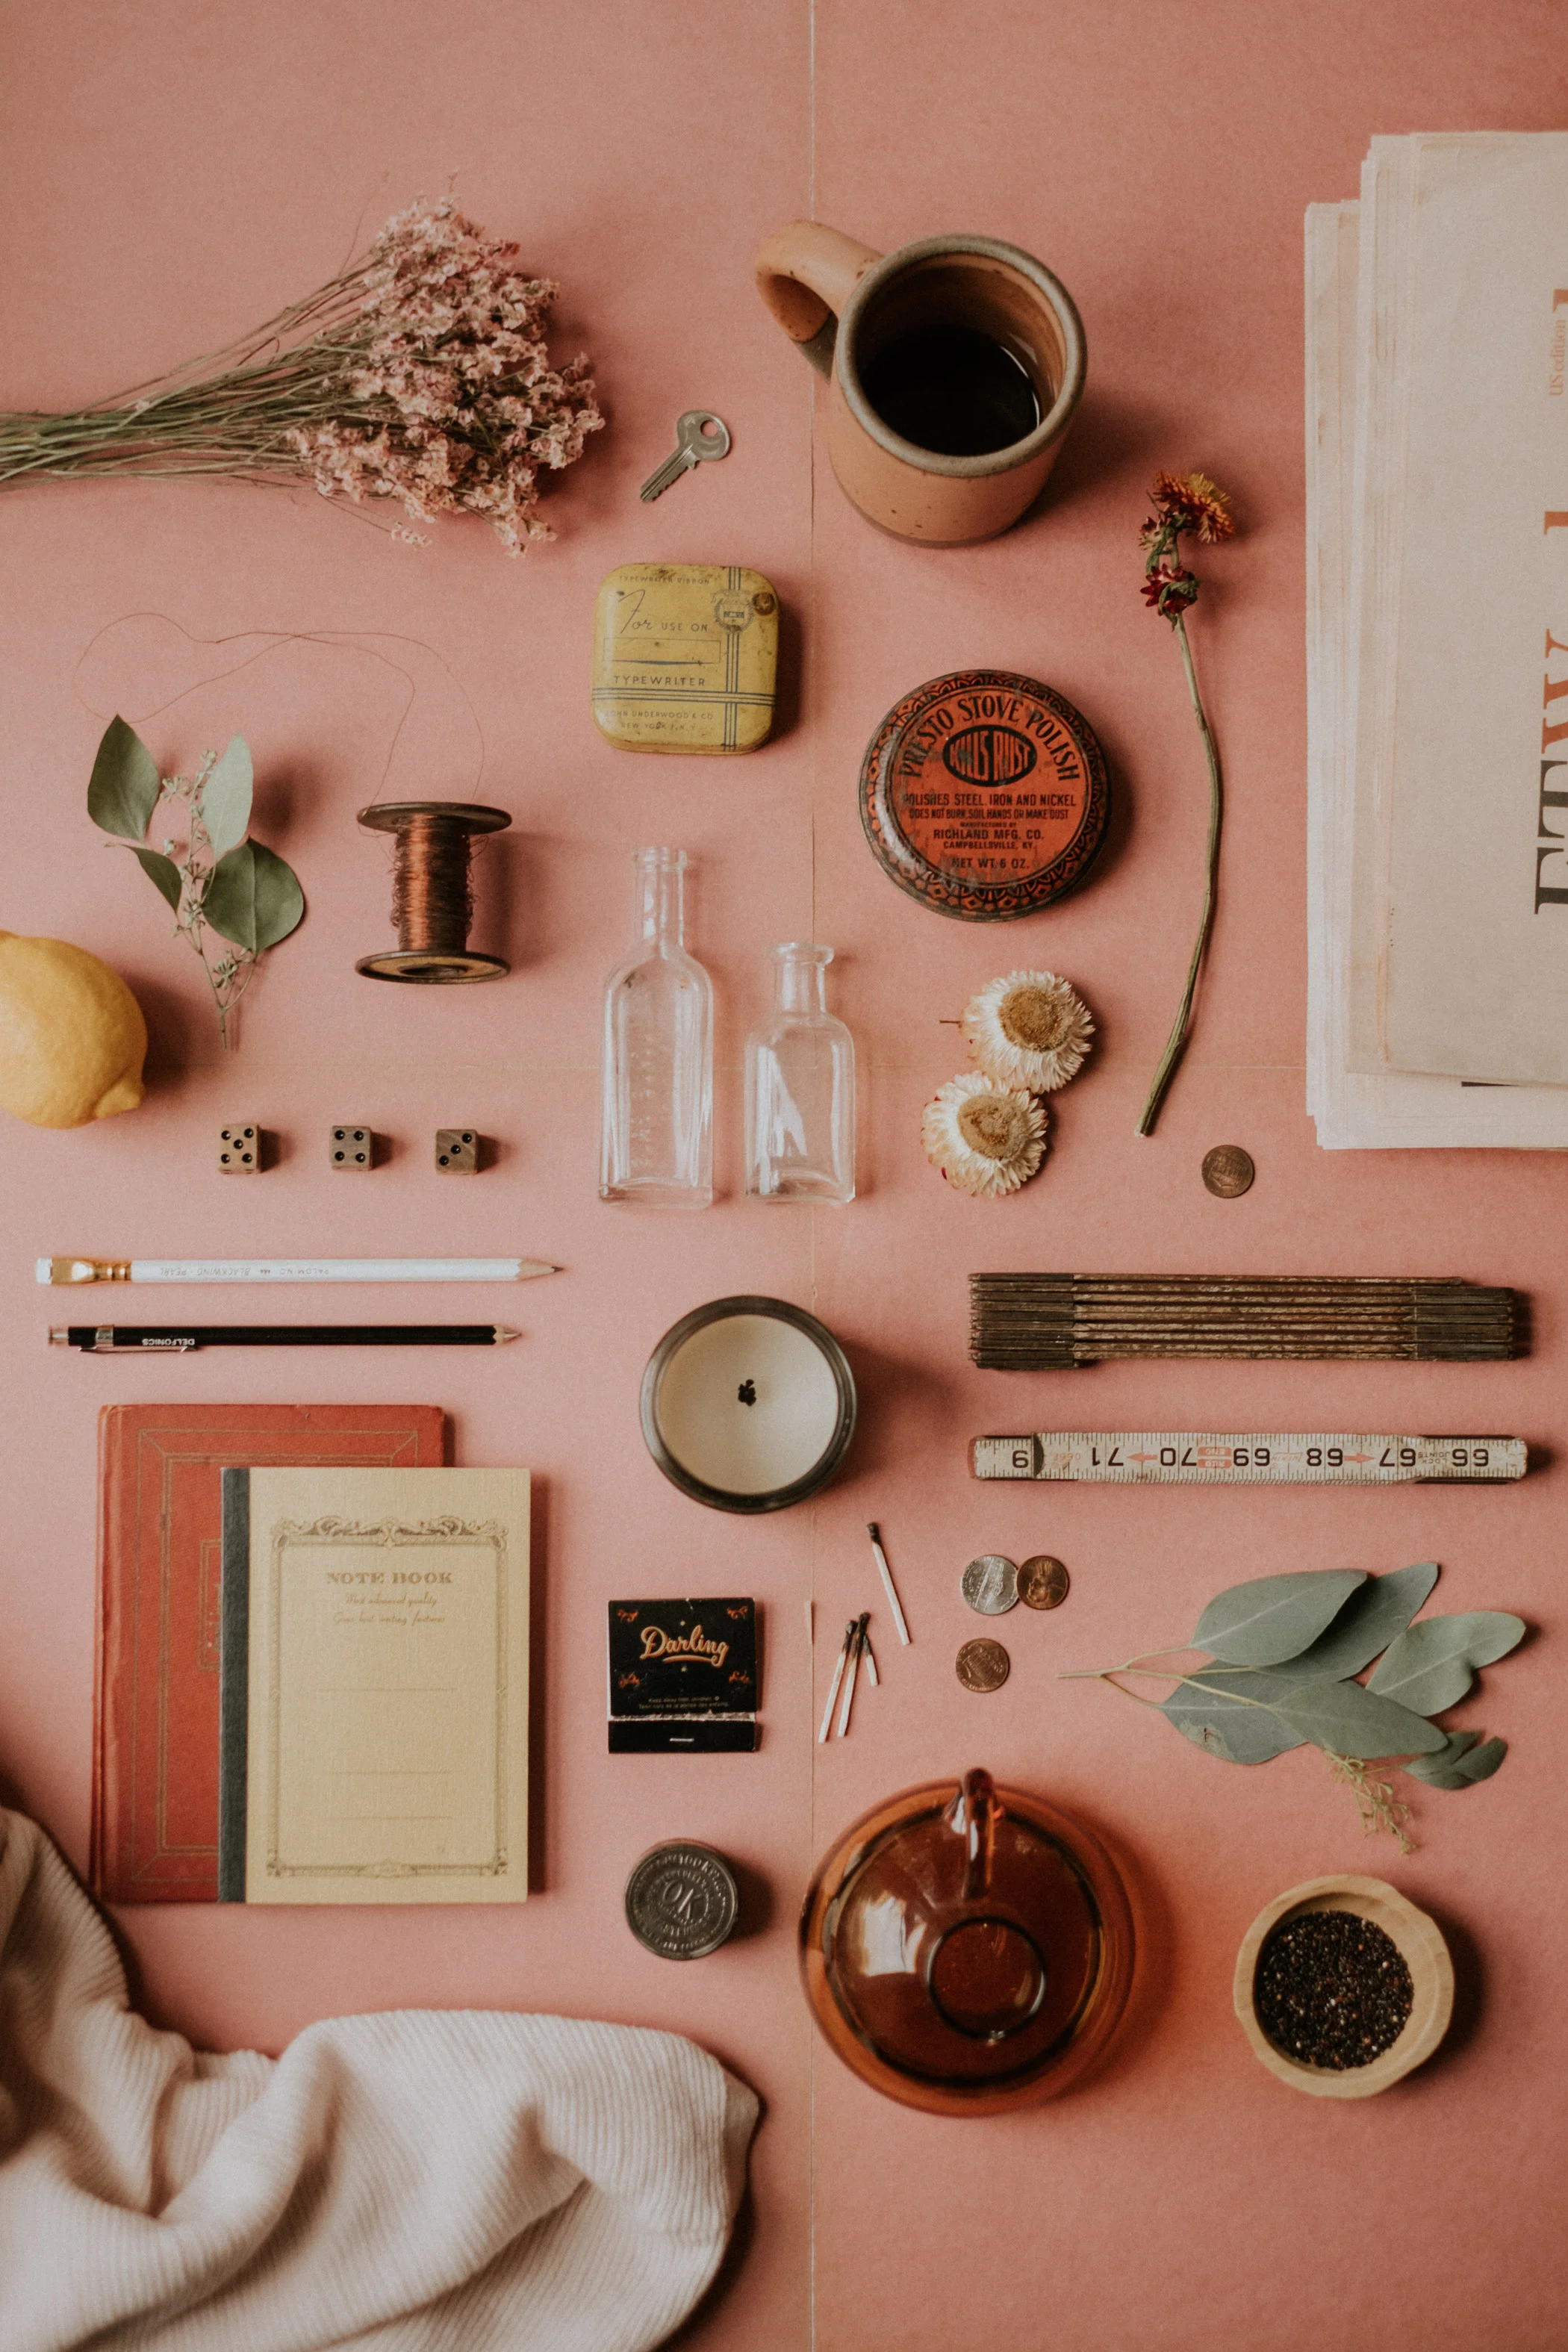
Props and Materials for Styling:
Textured Fabrics (even a sweater could work!)
Hats
Silk Scarfs
Flowers (fresh or dried)
Flower Petals (think of it as natural confetti!!)
Foliage from outside your home/business/the nearby park
Jars
Mugs/Cups of Coffee
Books
Journals
Magazines
Old Tins
Rulers (I love the bendy, vintage ones. These are great for giving some reference to the size of the drawings or goods that you’re styling!)
String
Ribbon
Watches or Jewelry
Beauty Products
Eye Glasses or Sunglasses
Scissors
Pens
Pencils
Paintbrushes
Pencil Shavings
Confetti
Candles
Buttons
Newspapers
Matches
Wooden or Ceramic Kitchen Utensils
Trays or Bowls
Food
Coins
Keys
Photographs (thrifted or taken on a Polaroid!)
Family Heirlooms
Any random Antique or Thrifted odds and ends - the more unique, the more fun!
Where I Shop:
Thrift Stores + Antique Stores - these are #1!
Garage Sales or Estate Sales
Flea Markets (like, actual dusty flea markets in a barn)
Amazon (for very specific projects/materials)
Micheal’s (Or any other craft stores)
I also always keep an eye out for statement pieces from unique/smaller brands like East Fork, Nightshift Wax Co., Cool Machine, Windy Peak Vintage, Aware Marketplace, Om Ceramic, Nacre, local vendors at cool markets like Indie Flea or Porter Flea, and lots more. Usually whenever I’m traveling, I’ll give myself the extra excuse of bringing something small and special home that can double as a prop!
A look behind the scenes
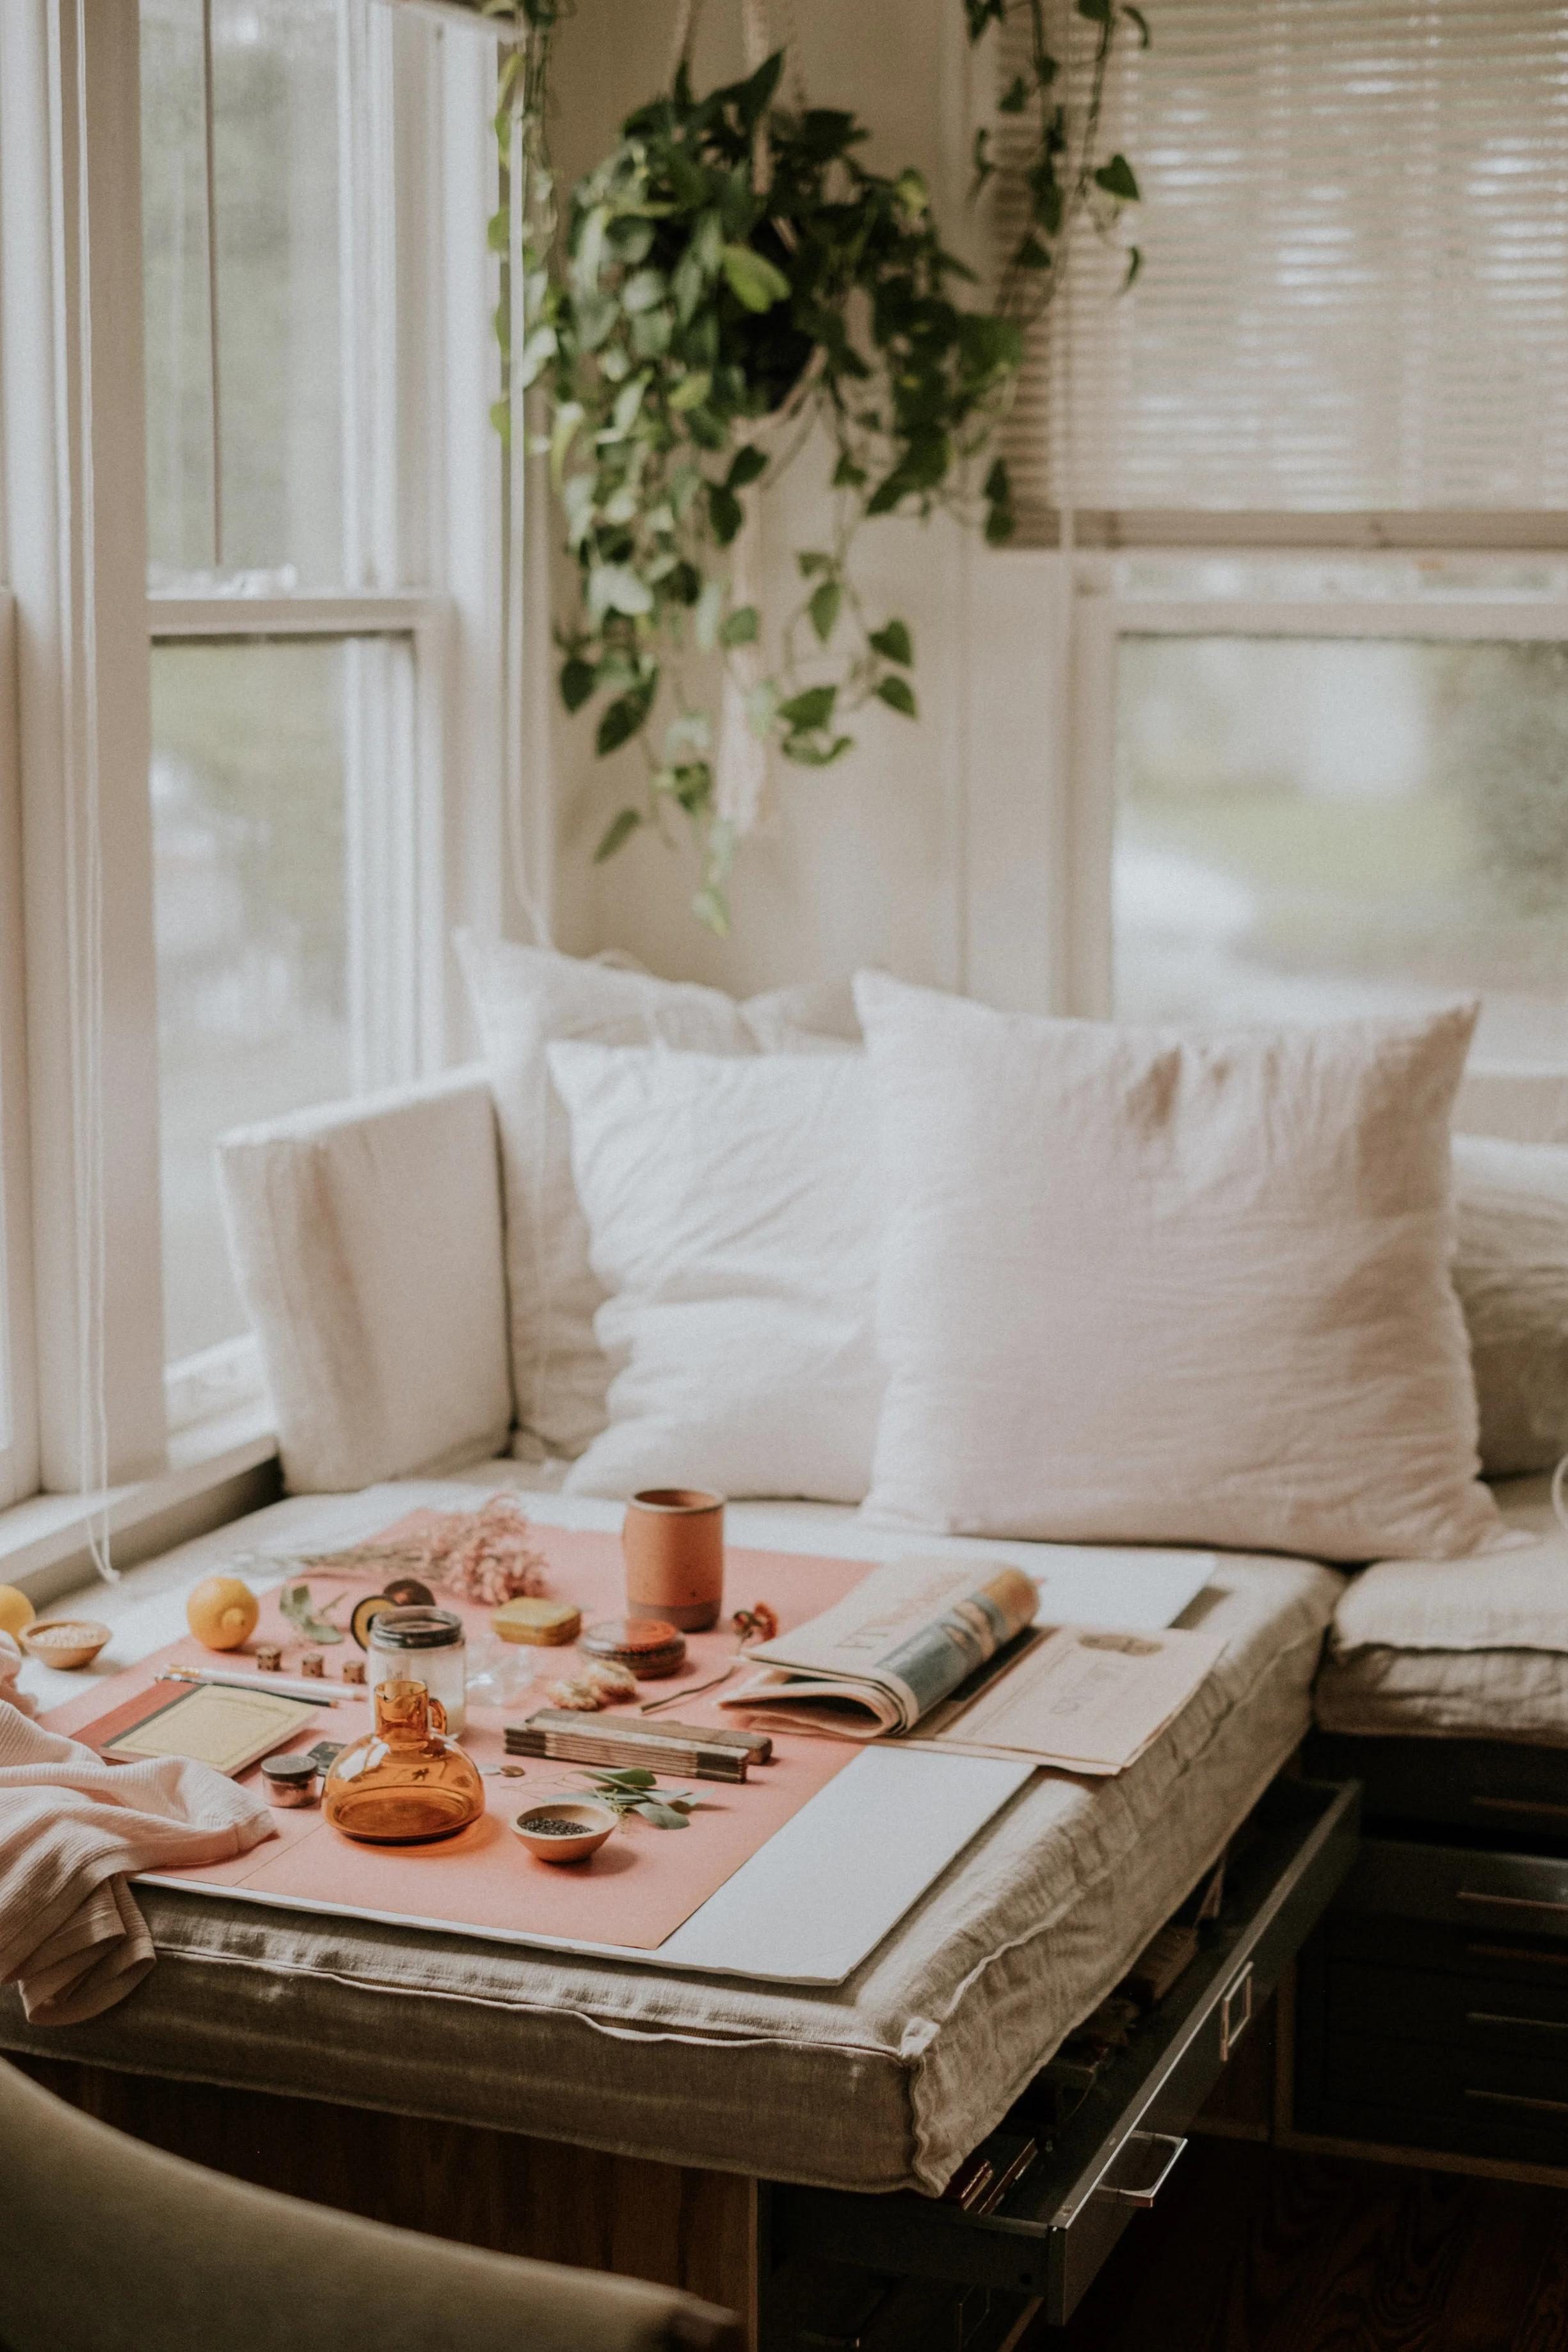
This flatlay was styled and shot on my sofa, while I stood over-top of it on my dining room chair!
There it is (give or take a few odds and ends materials)! May it be nothing but helpful in your process of finding your own preferred props and tools for styling! As a simple reminder, these are all just my personal preferences that I’ve found and enjoyed over time - you might find other goods or brands in the process which you love even more! These supplies are so subjective - there’s no right or wrong tool if it gets you closer to your vision!